Learn how participants will gain access to the event.
To be covered:
Intro
Attendees can register with Brella at next.brella.io, the Brella mobile app, or an exclusive app if you opted for a white-label event with Brella. When inviting attendees to join your event, it's essential to share the process of creating the Brella account and profile.
At Brella, we use a safe and secure way that allows customers to create an account with a password. Attendees simply need to select the login option 'Continue with email' and follow the instructions given in the platform.
🌟Note: Participants can also use Google authentication methods to access their accounts.
Please note that to use Brella; Attendees, Sponsors, Speakers, Guests, or any other participant must create an account on Brella and then join the event on the platform.
Attendee Onboarding Experience
Step 1. The participant receives an invitation from the Organizers.
- For non-restricted events - that you're using the Open Join Link, participants will receive an email through your CRM.
- For private events - that you're using the Invite-only feature, participants will receive invitations either through your CRM or through the Admin Panel, depending on your choice.
Step 2. Participants can access the event from the web app or mobile app.
To sign in to Brella, the participants first need to create an account:
- The Brella account can be created by visiting next.brella.io
- If the participant has an existing Brella account, they can log in to Brella any time through the web or mobile app with the same logins.
- They will accept the invite to the event by entering the join code or clicking on the direct join link.
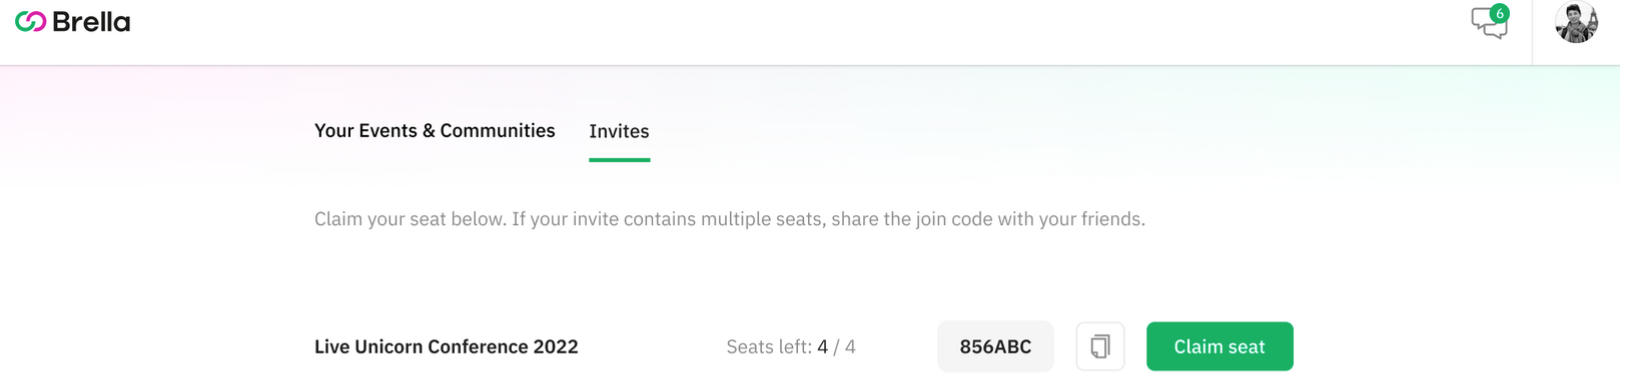
🎯Note! Participants who have been sent an invitation through the admin panel can claim their seat (ticket) from their account. To do so, they need to go to the home page of their account and click on the Invites tab.
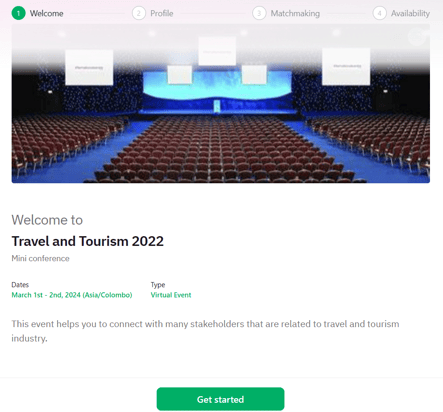
Step 3. Participants will set up a profile unique for your event
When participants join Brella, they go through a set of onboarding actions to ensure their event profile and networking preferences are set up.
- Welcome Page - where participants will view the welcome message for your event.
- Profile Page - participants will write an introduction tailored to your event and add their country of operations.
- Matchmaking Page - participants will choose their matchmaking categories to network and find relevant people at your event.
- Availability Page - where participants will select the days they will be attending the event.
Once they have set up their profile, they will be able to access all event details and browse the platform, view sponsors and the event schedule, and start networking.
❗Note that some events are hosted at Brella with a different join link (other than next.brella.io). So please read carefully what link or app you need to log in to join the event.
💡 Should you require more information on the profile set up for the event then please click here
Last updated - July 2023.
Written by Rajinda Wijetunge.

If you didn't find an answer to your questions, please get in touch with the Support Team here.
👇