Learn how to set up tables and add physical meeting locations at the event.
To be covered
- Intro
- Set up Tables
- Table allocation at the event
- Calculate the required number of tables
- Networking Area
1. Intro
Tables allow you to add physical meeting locations at your event. It will help participants find each other faster and make those 1:1 meetings happen effortlessly onsite.
Tables can only be used if you have a specific area to arrange a set of numbered tables, spots, points at the venue, AND if you have dedicated networking slots in the program.
This feature basically requires you to set numbered tables or meeting points for participants to gather and host their 1:1 meetings arranged through the Brella App. If adding tables to the venue is not an option, then that's no problem! You can change the name to Spot or Point.
The number of tables you choose depends on a few factors like networking area size, meeting slots available at your event, and the number of attendees. We have a formula that can help you find the number for your event.
2. Set up Tables
- Navigate to People > Settings and toggle on the Enable Tables button.
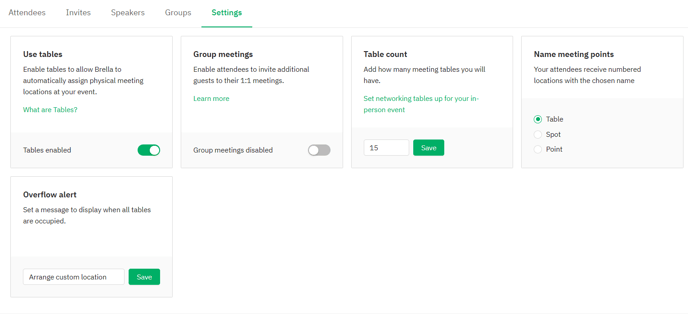
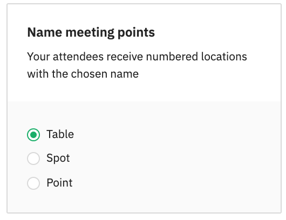
- Select the meeting points name
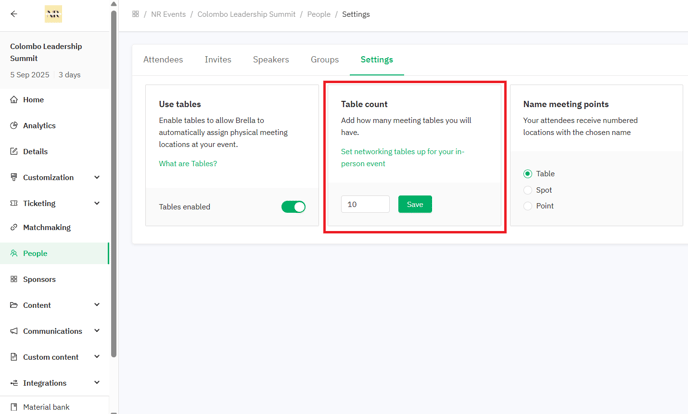
- Decide the number of tables to facilitate participants to network at the event.
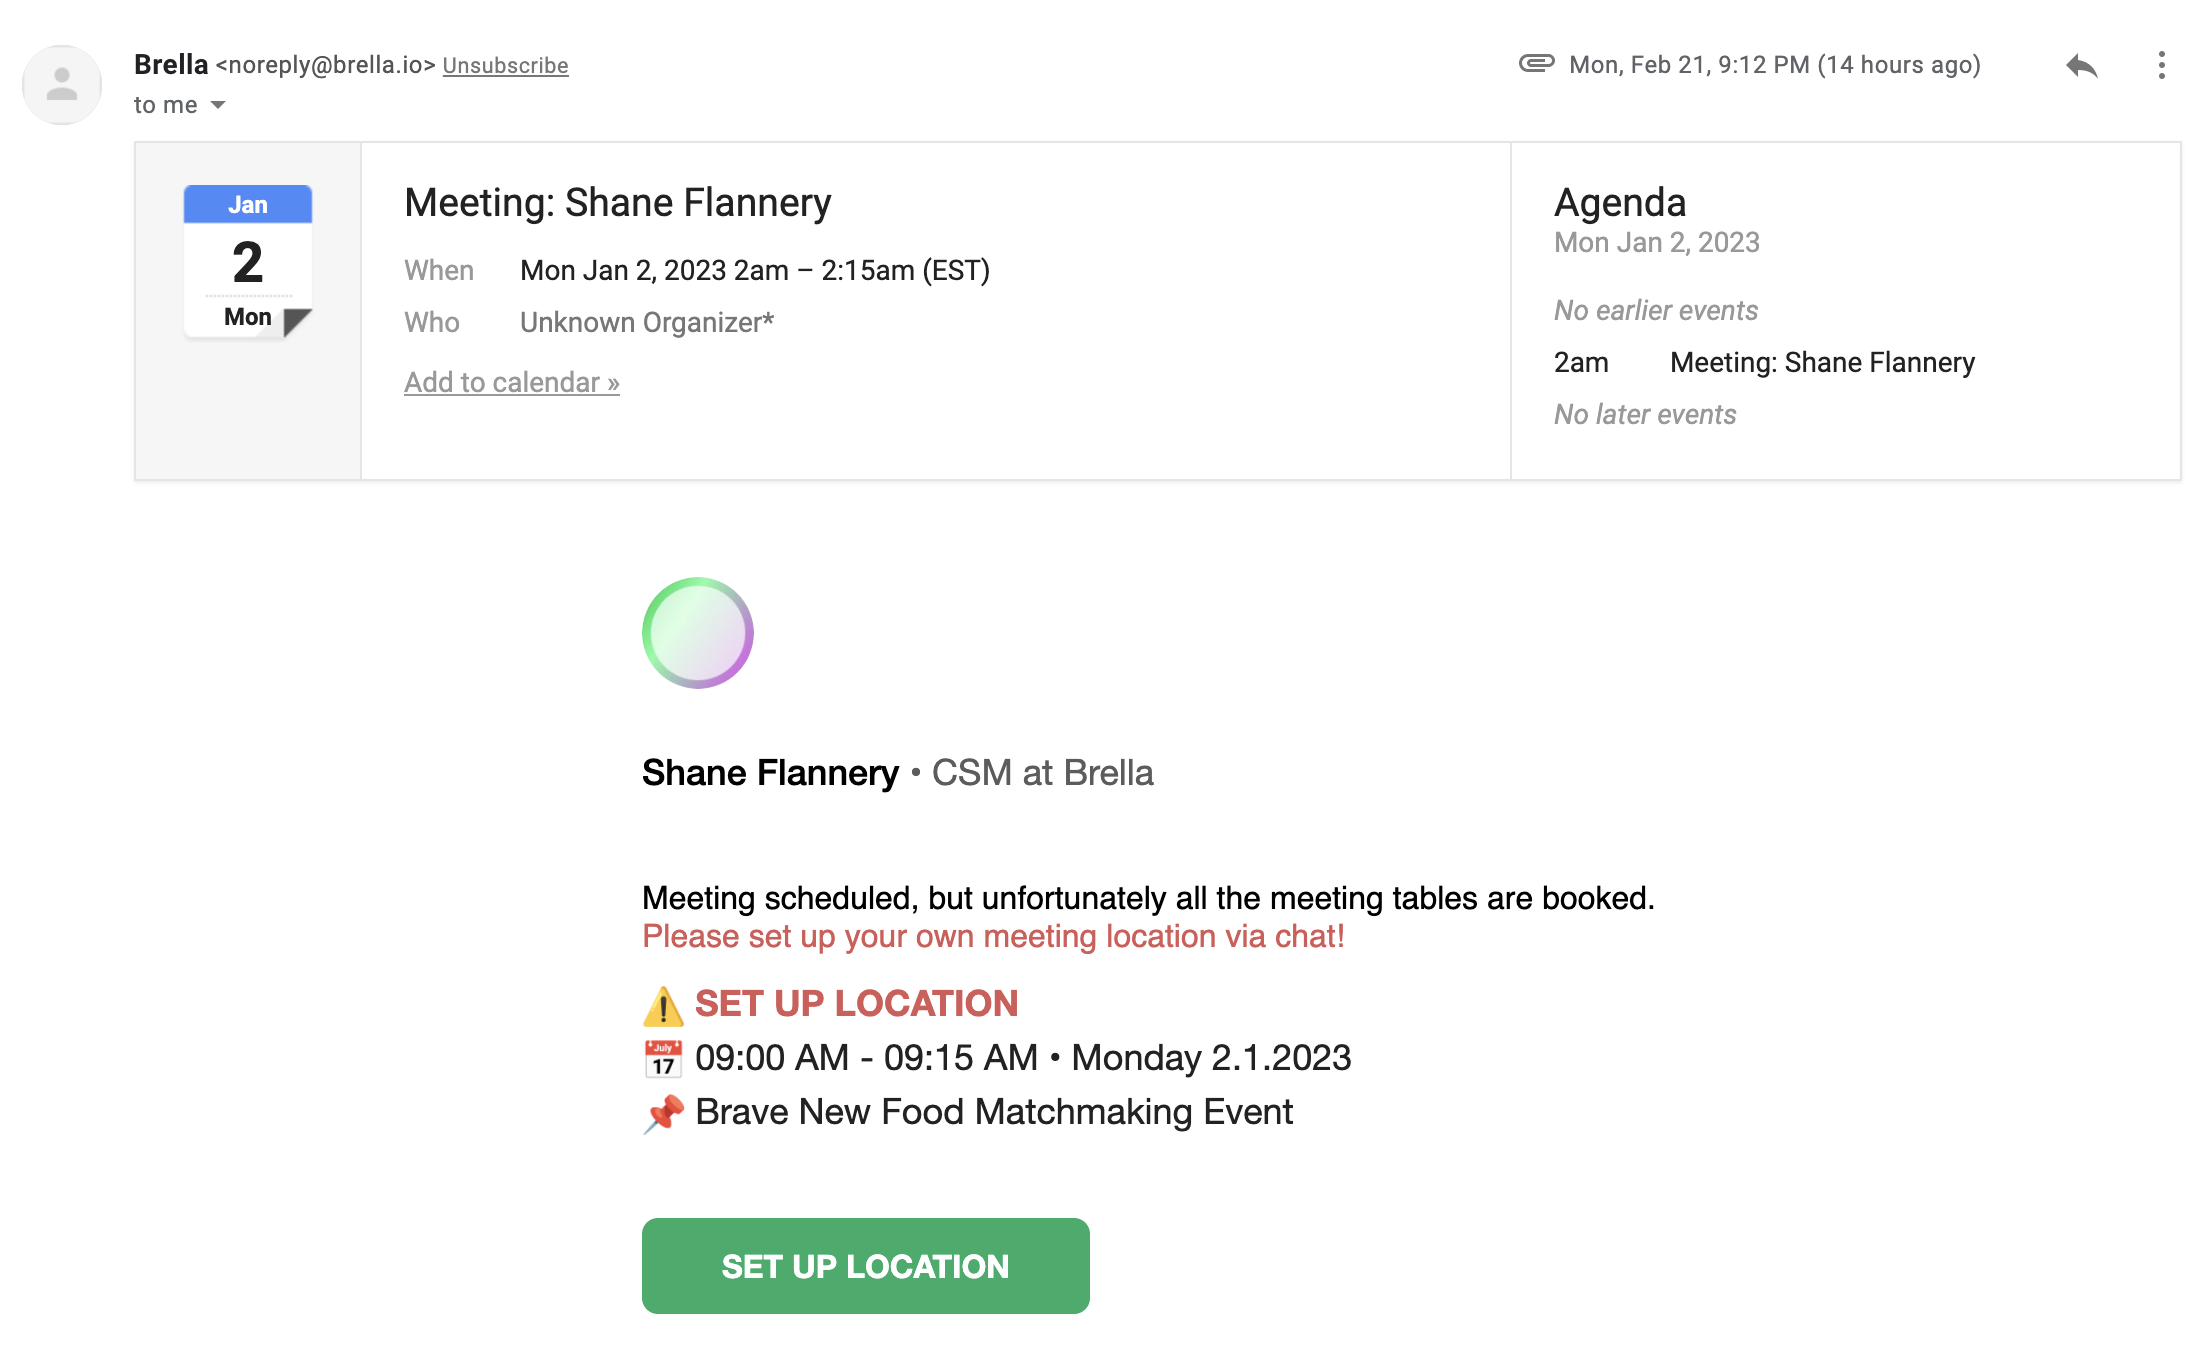
❗Once all tables are occupied, attendees will receive a message saying they need to set up their location on the chat and they will also receive an email.
a. Chat message

b. Email
Now you have the option to customize this text as well under the same 'People' tab settings.
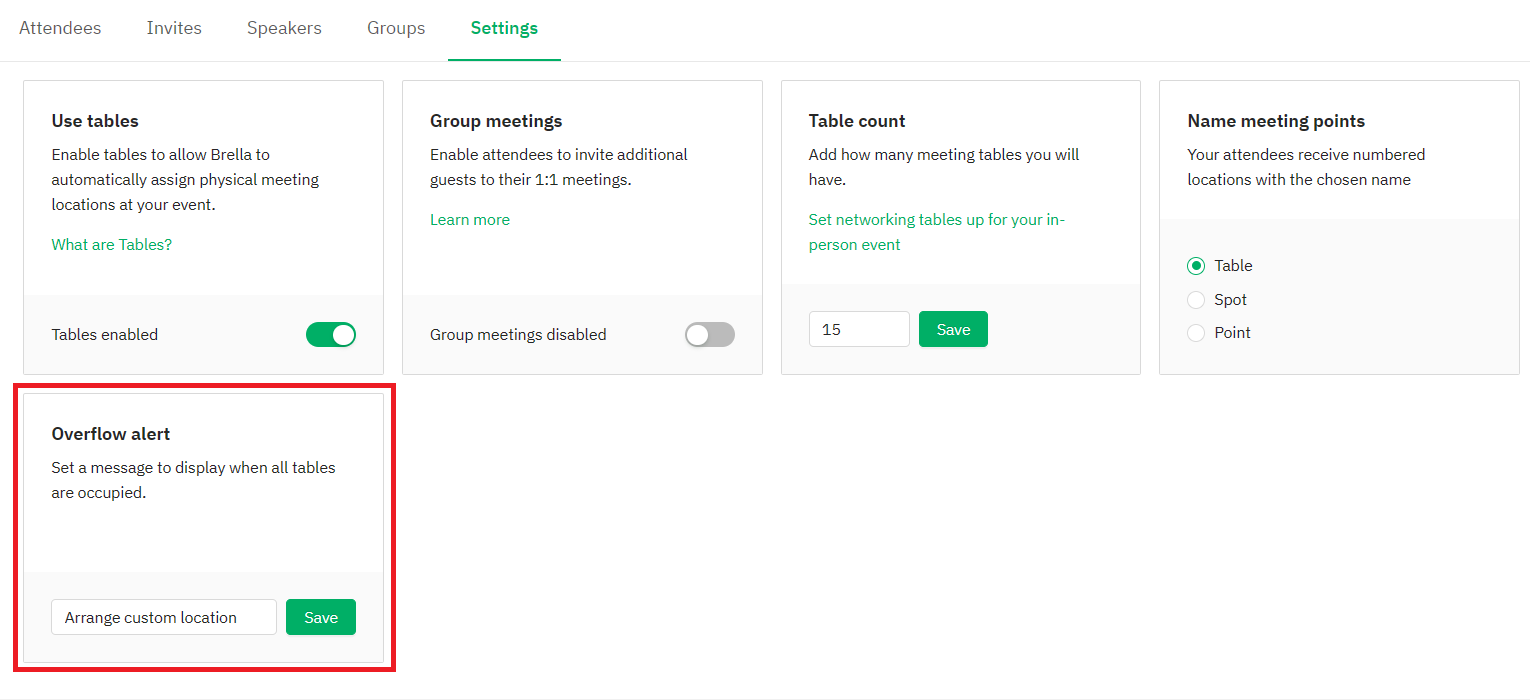
Instead of saying 'Arrange a custom location' you can for example customize it to say, 'All tables are full, meet the VIP room on the 2nd floor'.
The character limit of this message is 80.
3. Table allocation at the event
Tables are assigned in a first-come-first-serve method, and per networking slot whenever a meeting is accepted.
🎯Point in case: a meeting is accepted, a table will be assigned in chronological order. So, if you have 7 tables, the first accepted meeting will have Table 1, and so on.
Additionally, Brella will show table assignments to hybrid and in-person attendees only. For example:
- If an in-person attendee and a virtual attendee arrange a meeting: A SINGLE table is assigned for that networking slot, but the table assignment is only shown to the in-person attendee; the virtual attendee just sees the video call button.
- If a hybrid attendee and a virtual attendee arrange a meeting: A SINGLE table is assigned for that networking slot, but the table assignment is only shown to the hybrid attendee; the virtual attendee just sees the video call button.
- If a hybrid attendee and another hybrid attendee arrange a meeting: A SINGLE table is assigned for that networking slow, and the table assignment is shown to both hybrid attendees.
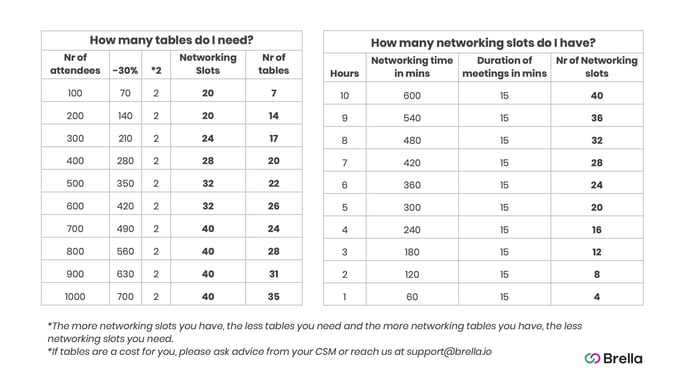
4. Calculate the required number of tables
The number of tables varies event per event, mainly on the size of the networking area you will implement. We created a formula to give you a realistic estimation of how many tables you should have at your event.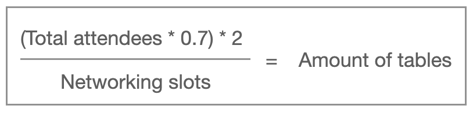
5. Networking Area
When using the Tables feature, we highly encourage you to establish a dedicated networking area at the venue. Find instructions on how to do it here:

Last updated - April 2024.
Written by Nisansala Wijeratne.

If you didn't find an answer to your questions, please get in touch with the Support Team here.
👇