Learn how to edit the Brella attendee profile
To be covered
- Editing my account details on the web application
- Edit my settings information on the web application
- Change password
- Push notification
Intro
Your Brella account is your ticket to a great event and networking experience.
You only need one Account for all events using Brella, so please always use the same login to keep your events and meetings safely in one place.
Editing my account profile on the web application
- Log in at next.brella.io.
- Move your cursor to your profile picture in the top right, click on it, and click on Account Settings.
- Then click on Profile.
- Now you can edit your account details as you need.
- Next, select Save Changes at the bottom.
- Your Account is updated!
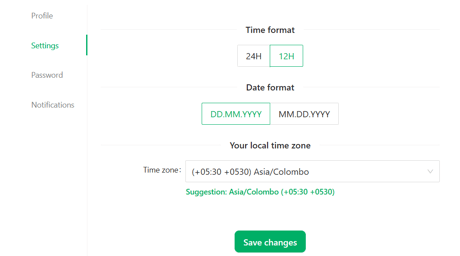
Edit my settings information on the web application
This is the place, if you are looking at changing the time and date format. You can also update your locale time. Click save changes once done.
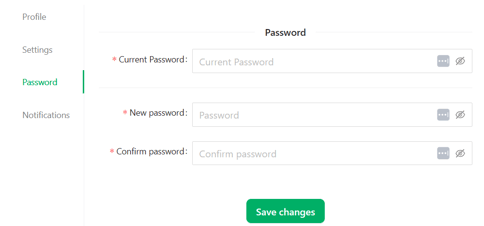
Change password
You can change your current password and set up a new one under Accounts - password.
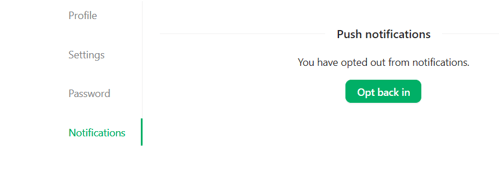
Push notification
Once you enable the push notifications feature, you will receive them as follows:
- 5 minutes before your bookmarked sessions are about to begin
- 5 minutes before your meeting is about to begin
- If someone sends you a meeting request
- If your event organizer sends you a notification
Click on "Opt back in" to enable the push notifications feature.
Great job! Now you can successfully edit your Brella account.
💡 Learn how to edit your account details from the mobile app Mobile App: Edit my account
Last updated in July 2023.

Written by Yusra Mohideen
If you didn’t find an answer to your questions, please get in touch with the Support Team here.
👇