Learn how to customize your event registration page.
To be covered:
Intro
Brellas registration page is set up with an easy-to-use user interface. Event organizers can fill in a few fields in the provided form and once saved the registration page will be live in a web page layout. Here we will walk you through the customizable elements of the registration page.
How to use (steps)
- Navigate to Admin Panel - Ticketing - Registration page
- Event name will be captured from the main events 'detail' page
- Add an event tagline with a limit of 80 characters.
- Toggle on or off to show parallel sessions horizontally
- Fill in the event description - it can include hyperlinks and emojis
- Upload banner images. To suit different devices we have provided 3 options
-
- Banner image for desktop (Resolution: 1440x450)
- Banner image for tablet (Resolution: 992x310)
- Banner image for mobile (Resolution: 375x300)
↗️ Max file size is 5MB. Recommended format - PNG / JPG / JPEG
- Add links to your company/events privacy policy and terms of use. If left blank, it will be filled with the Brella links
- Add a catchy value proposition / call-to-action text to encourage visitors to proceed to purchase.
- Once you have completed the form, scroll down and click on save.
Your ticketing registration page can also highlight the event schedule, speakers, and sponsors. Learn how this can be done here.
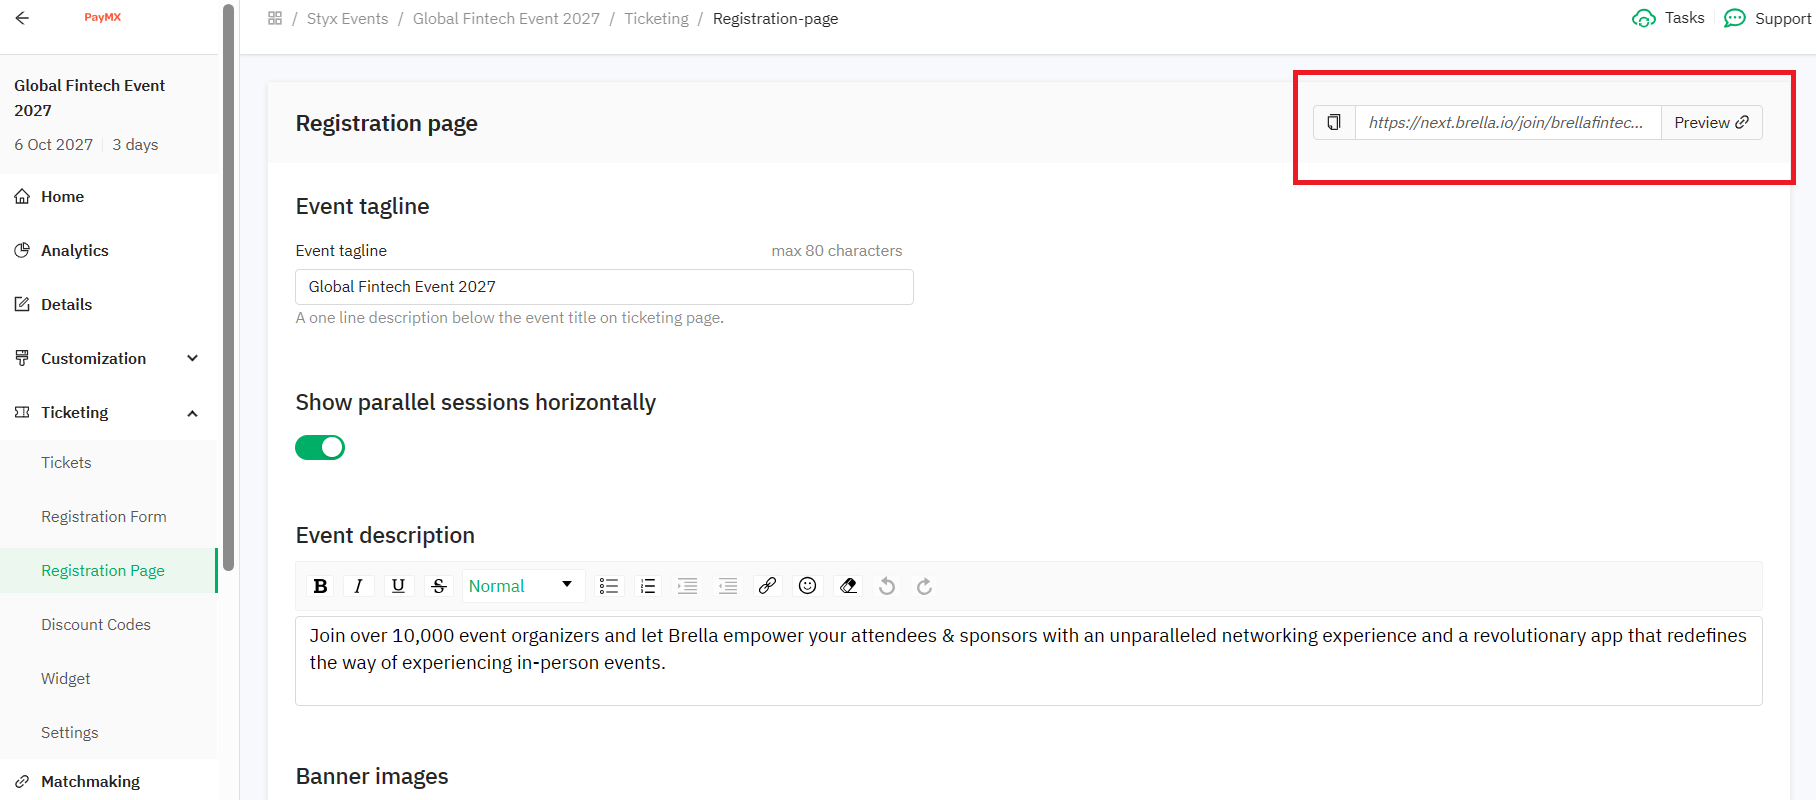
Registration Page Preview
You can check what the registration page looks like before going public from the top-right 'Preview' button. You can also copy the actual URL of the registration page to be added to your event website and SM pages.
Good job on setting up your event registration page.
Best wishes for a successful event ahead!
Last updated - June 2023.
Written by Nisansala Wijeratne.

If you didn't find an answer to your questions, please get in touch with the Support Team here.
👇