Learn how to create sponsor/partner profiles on Brella admin panel
To be covered:
Intro
As the event organizer, you will need to initiate the creation of the sponsor profiles on Brella for your sponsors. You will have access to create the virtual booths, share sponsor admin rights and manage all the controls from the admin panel.
How to create sponsor profiles
- Navigate to the Admin Panel - Sponsors tab. You'll be prompted to activate the sponsors' functionality if not yet done.
- If the sponsor category is not yet set up: that needs to be set up at this point before you create sponsor profiles.
- Navigate to the sponsors tab - click Create new on the top right corner of the Sponsors page.
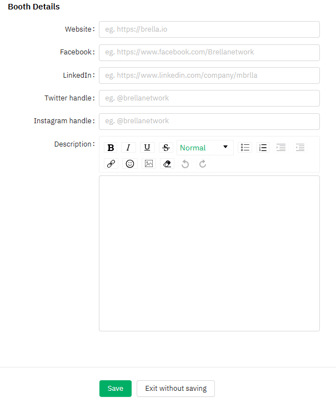
Update the sponsor details
The sponsor profile form is self-explanatory. There are mandatory fields to be filled out in order to successfully save the form. Once you've added all the relevant information Click Save.
|
|
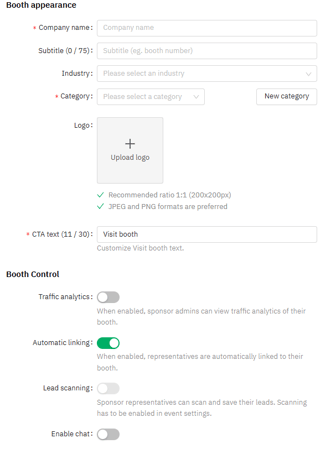
👉 Note: If you are experiencing issues with saving a new sponsor, check that your logo is within the correct image size, which can be max. 1000x650.
Once you set up your sponsors, you can see how it looks in the actual event at next.brella.io. The changes will automatically reflect on the front end of the site to the attendees.
Last updated - July 2023
Written by Yusra Mohideen

If you didn't find an answer to your questions, please get in touch with the Support Team here.