- Help Center
- I am an Event Organizer
- 📖 Event Onboarding
-
I am an Event Organizer
- 📖 Getting Access
- 📖 Event Details
- 📖 Customization
- 📖 Ticketing
- 📖 Matchmaking
- 📖 Sponsors
- 📖 Schedule & Widget
- 📖 Attendees & Groups
- 📖 Event Onboarding
- 📖 Speakers
- 📖 Streams
- 📖 Breakout Rooms
- 📖 Event Info Pages
- 📖 Communications
- 📖 Home Analytics
- 📖 Exporting Reports
- 📖 Analytics Tab Overview
- 📖 Traffic Analytics
- 📖 Integrations
- 📖 Best Practices
- 📖 Troubleshooting
-
I am a Sponsor
-
I am an App User
-
I am a Web App User
-
Integrations
-
Brella Partners
-
Brella Dictionary
Event Onboarding: Invite Seat Options
Learn how to add different types of invites to your event
To be covered
Intro
Brella allows you to create three different types of invitee seat options. You can select the most suitable category Based on your event type.
How to (Steps)
- Create a new invite
This will ensure that your invite is only accessed by the people you give out the invite-only join code. We recommend doing this whenever possible.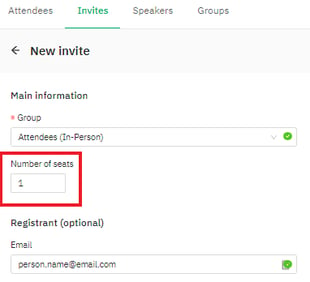
- Big invite for 10 seats
New attendees will be given seats within the same join code. This is a faster method but may be problematic. Since the invite is open till all seats are taken, if you remove an attendee from this invite, they could join again.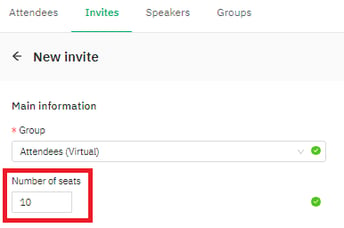
- 'Public' join code
New attendees can be invited using the same link/join code. This option can be helpful, but you won't be able to control who enters your event.
Last updated - July 2023.
Written by Purnima Jayasuriya.

If you didn't find an answer to your questions, please get in touch with the Support Team here.
👇