- Help Center
- I am an Event Organizer
- 📖 Customization
-
I am an Event Organizer
- 📖 Getting Access
- 📖 Event Details
- 📖 Customization
- 📖 Ticketing
- 📖 Matchmaking
- 📖 Sponsors
- 📖 Schedule & Widget
- 📖 Attendees & Groups
- 📖 Event Onboarding
- 📖 Speakers
- 📖 Streams
- 📖 Breakout Rooms
- 📖 Event Info Pages
- 📖 Communications
- 📖 Home Analytics
- 📖 Exporting Reports
- 📖 Analytics Tab Overview
- 📖 Traffic Analytics
- 📖 Integrations
- 📖 Best Practices
- 📖 Troubleshooting
-
I am a Sponsor
-
I am an App User
-
I am a Web App User
-
Integrations
-
Brella Partners
-
Brella Dictionary
Customization: Event Cover Photo
Learn how to add a cover photo to provide vital information on the event and add more color to your event page
To be covered:
Intro
A cover image is a vital element, especially for an online event platform. A striking image and captivating text in a cover image can give the attendees an excerpt of what is going to be covered in the event and generate good vibes and make them inquisitive.
How to (Steps)
- Navigate to manager.brella.io
- Click on the event
- Navigate to the Customization tab
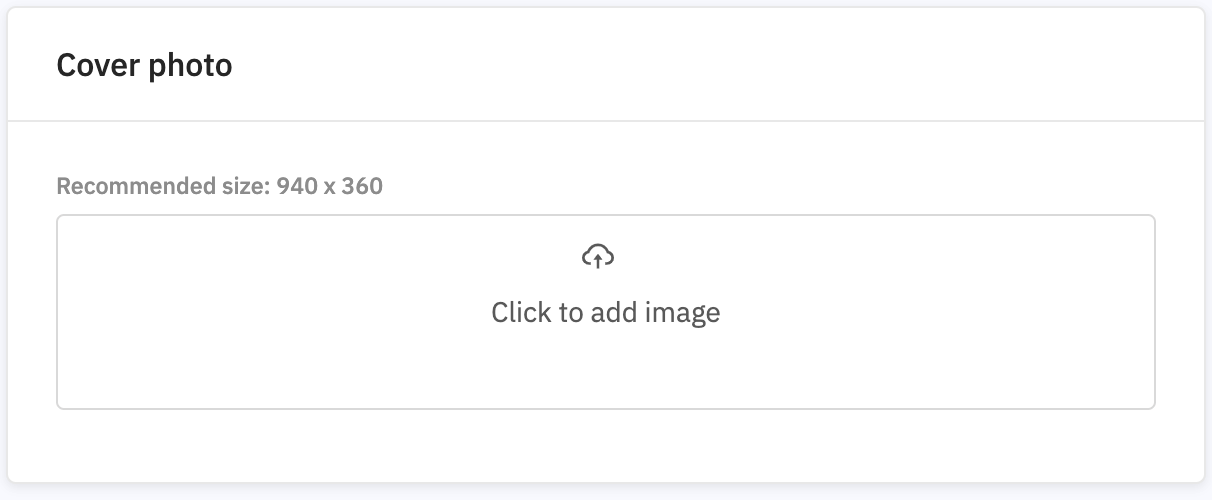
- Click on 'Cover Images'
- Choose Click to add image and upload the cover image from your computer.
- Scroll down and click on Save to upload the cover image to the event.
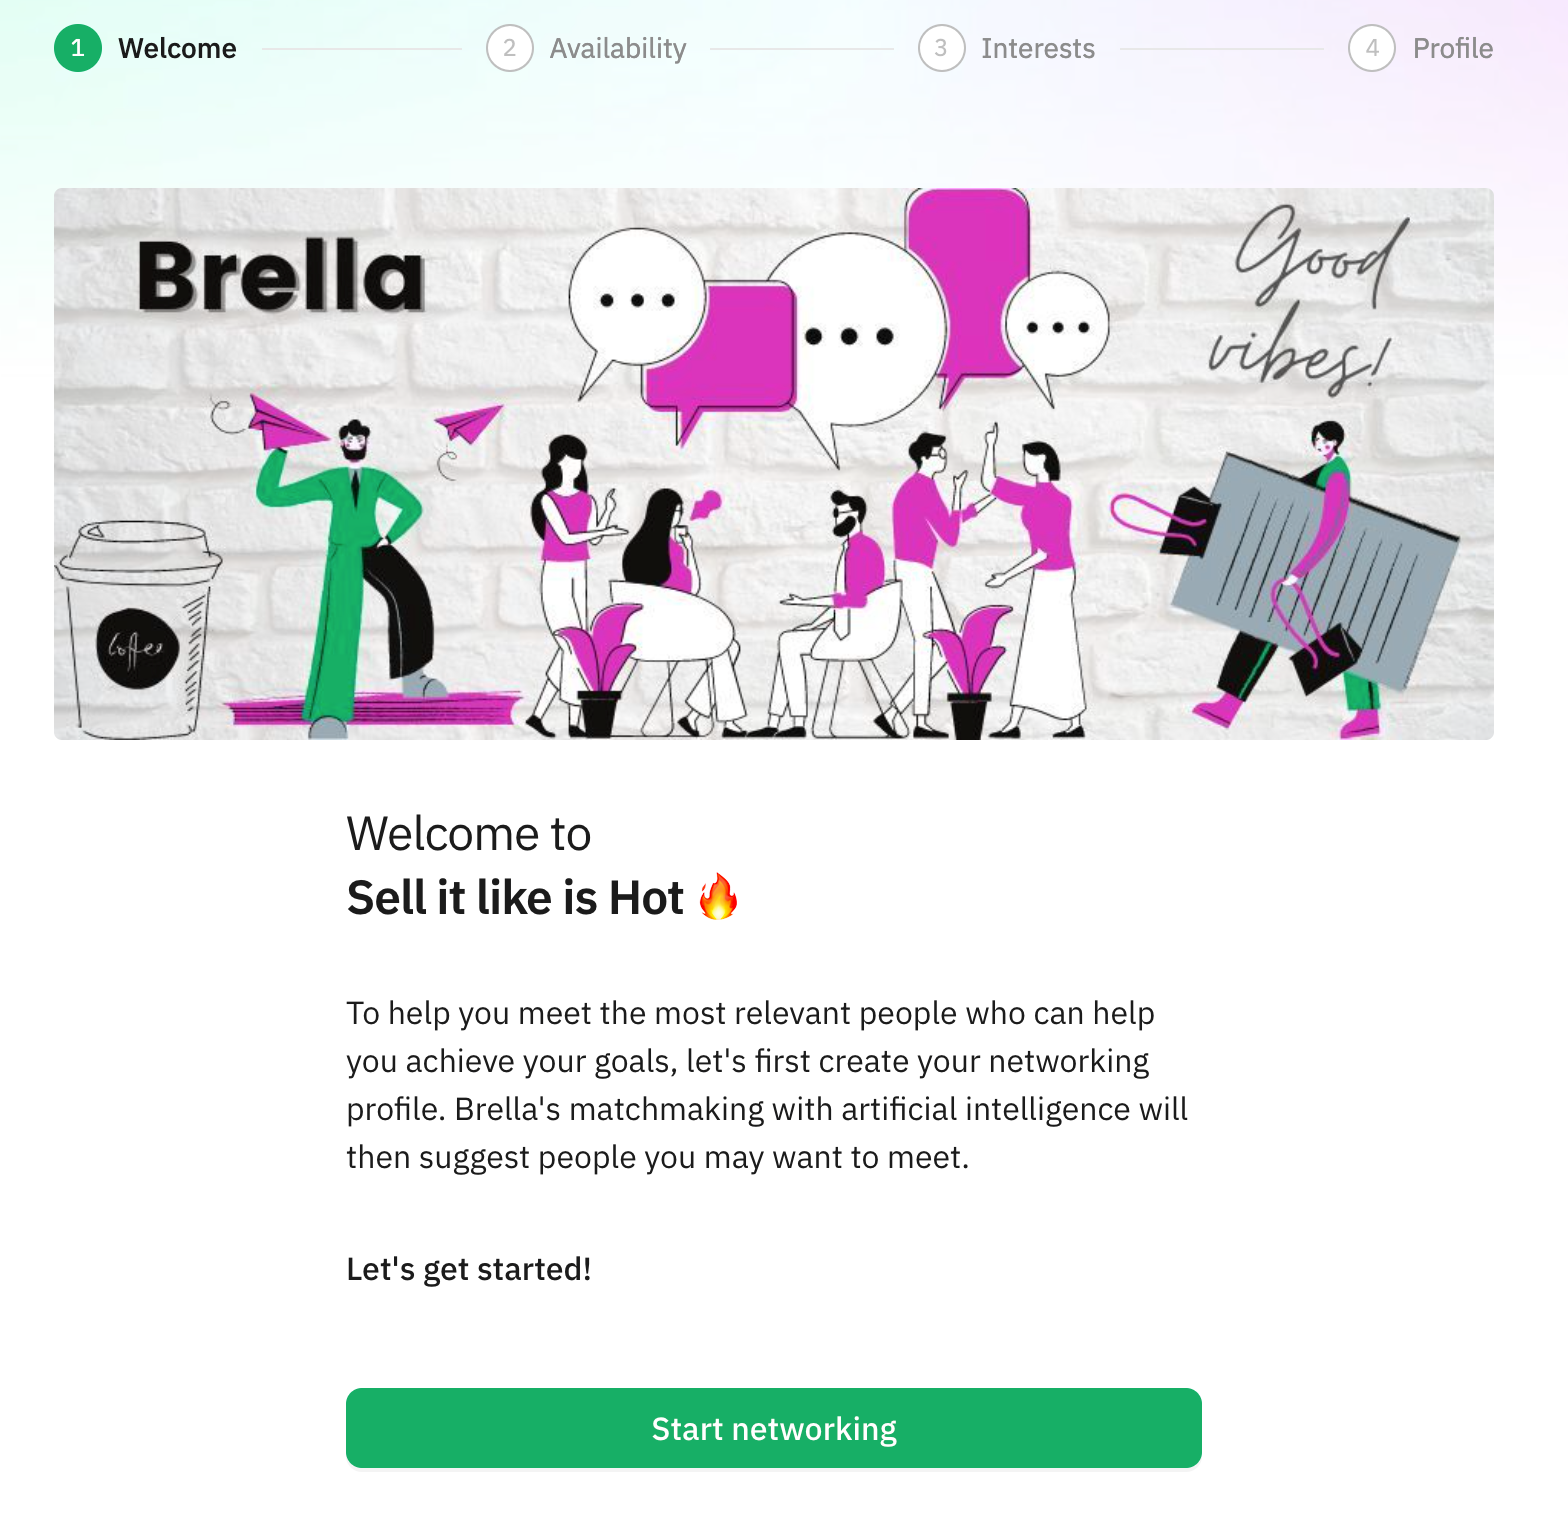
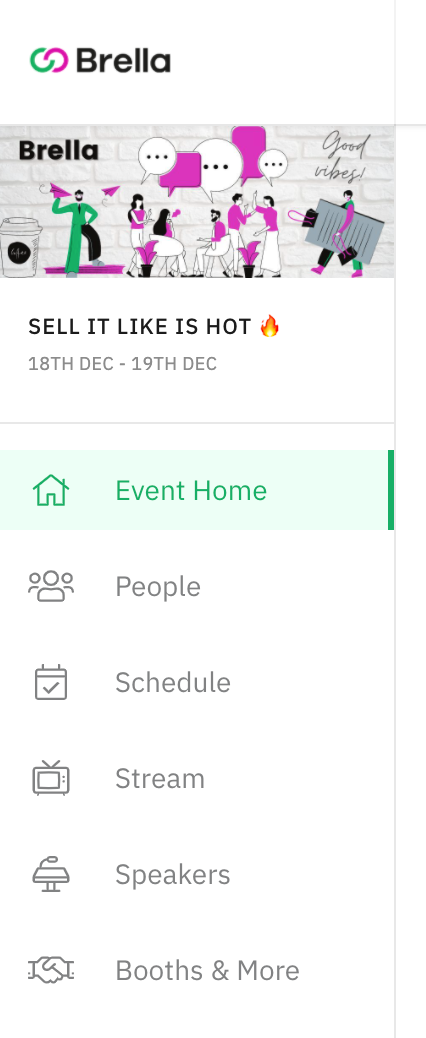
The cover photo will be displayed in two places
when the attendees sign in to the event for the first time and later on the navigation menu as shown below.
 .
. 
Congratulations on adding your event banner! Best wishes for a successful event!
Last updated - July 2023
Written by Yusra Mohideen

If you didn’t find an answer to your questions, please contact the Support Team here.