Learn how to enable, create, and manage 'Spaces' which is a social wall for the attendees to connect
To be continued:
Intro
A social wall is a modern digital solution to enhance interactions and create a sense of community during events around a specific topic. Brella 'Spaces' will help you foster engagement, share insights, and build connections between the event attendees on topics selected by you.
Enable 'Spaces' on the admin panel
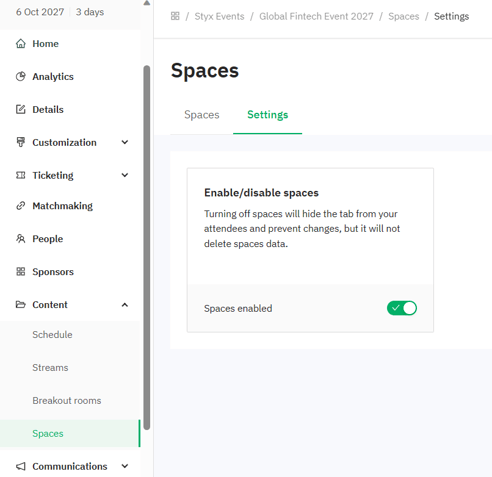
Prior to start creating a 'Space' you have to enable this feature on the admin panel. This can be done by going to the Admin panel > Content > Spaces and selecting the 'Settings' in the top menu. Click on the toggle available to 'Enable spaces'.
How to create a 'Space'
- Navigate to Admin panel > Content > Spaces
- Click 'Create Space'
- Enter the 'Name' and 'Description' fields
- Upload an image (The recommended aspect ratio is 5:2 JPEG & PNG formats are preferred.)
- Toggle the status to 'Active'
- Click on 'Create' to add your Space to the event
You can click on the 'Edit' option to edit a Space already created and click on the 'Delete' option to remove a space from the event.
💡A created Space is visible on the event only if the status is 'Active'. If the status is 'Invisible' you will have to edit the Space and make it 'Active'.
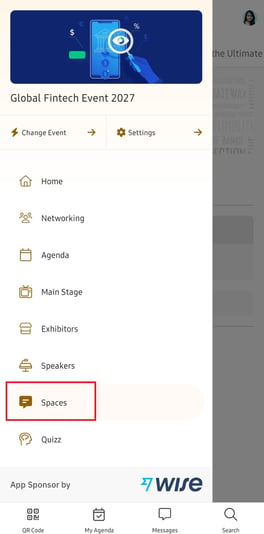
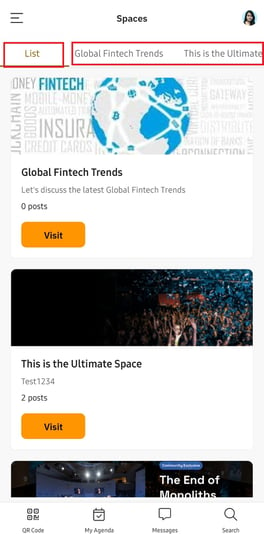
Spaces - Mobile app view
| A new tab will be added to the main event menu | A list view of all the 'Spaces' is created along with individual tabs for each 'Space' |
 |
 |
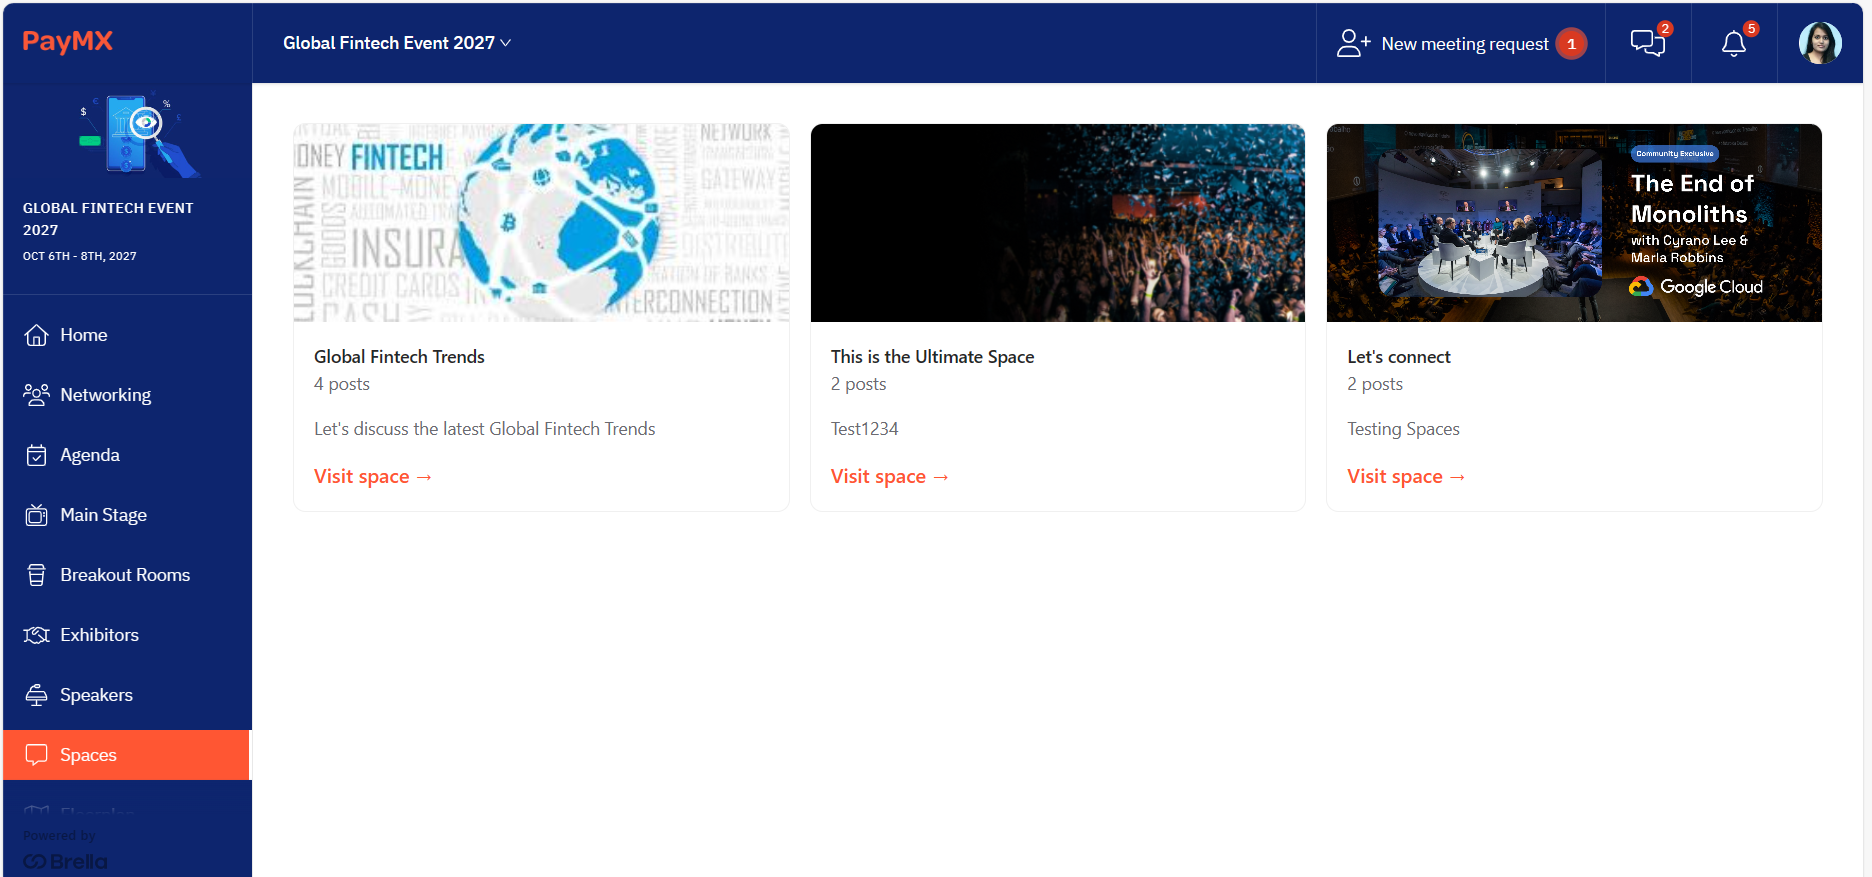
Spaces - Web app view
You can also rename the 'Spaces' tab. Ex: Channels, Social walls etc. Refer to this article on how to customize the tabs.
Hide a post/comment in a 'Space'
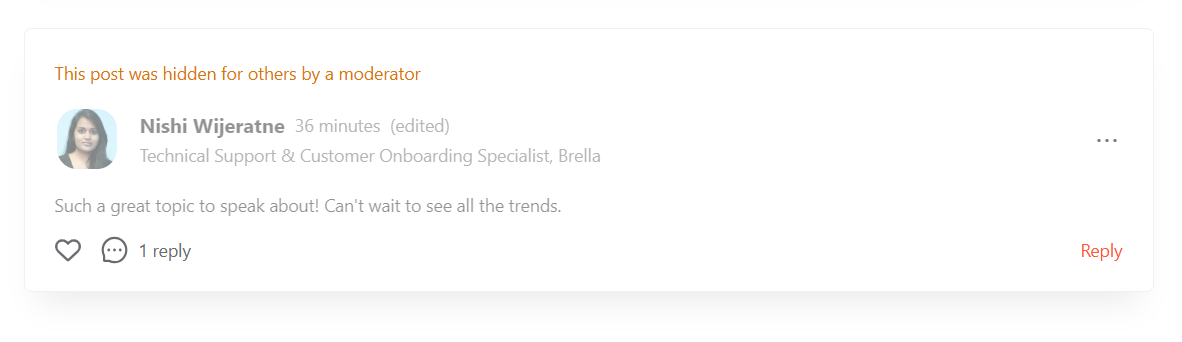
As an organizational admin or an event admin on the Brella admin panel, you will have screening rights to all the posts/comments being made on Spaces. If you wish to remove a post/comment made by an attendee due to any reason, you should go to the event front-end on next.brella.io, log in using the same email address you have admin rights assigned to the event, and 'Hide' the relevant post.
This can be done by clicking on the three dots (...) available on the top right corner of each post/comment. The hidden posts/comments will be greyed out and will still be visible to you with an alert on top stating 'This post was hidden for others by a moderator'.
Mobile app view
-jpeg.jpeg?width=264&height=535&name=WhatsApp%20Image%202023-08-25%20at%2016-34-49%20(1)-jpeg.jpeg)
Web app view
Last updated - August 2023.
Written by Nisansala Wijeratne.

If you didn't find an answer to your questions, please get in touch with the Support Team here.
👇