Learn how to create your own custom email design on the admin panel using the visual editor
To be covered:
Intro
Customizing or personalizing emails will make you stand out within your attendees’ inboxes with highly targeted and tailored content. Brella’s custom emails give you the opportunity to add your branding and take your emails to the next level. With the new custom email builder visual editor, you can now create your custom email within the Brella admin panel.
Merge tags
There are two tabs when you start creating a custom email. The ‘Visual editor’ tab is where you can create your own email within the admin panel. Once this tab is selected, you will see the merge tags that you can merge into your email content from the Brella invites page. By simply inserting these tags anywhere in your email content, the system will include the data accordingly based on the information in the 'invites' tab. The fields that you can add using the tags are:
- First name
- Last name
- Join URL
- Seats count
- Available seats count
- Join code
- Booking system URL
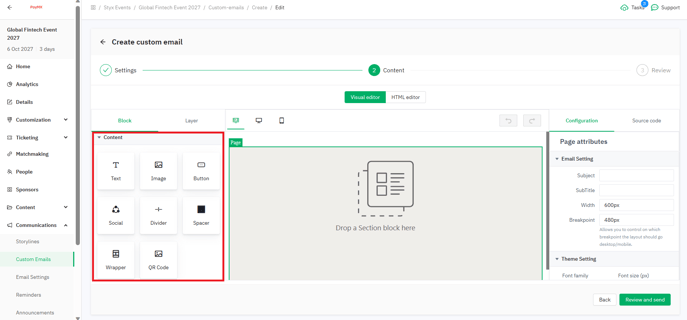
Content
The following options are given for you to edit/add content to your email accordingly.
❗Switching editors at any point will make you lose all your data/progress of the email you have been working on.
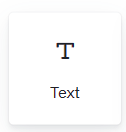
Text
You can add any kind of text to your email by using this text option. You can drag and drop the following text icon on the email where you want to add content as text and start typing.
You are also given many options to edit the text added. The following toolbar will be visible on top of the text box giving you many formatting options.

An extended version of the same toolbar is available on the right-hand side menu under the heading ‘text attributes’.
|
The height determines the height of the text box added. The padding determines the space you wish to keep between the text you type in the text box. |
 |
| Color defines the color of the text while the background color defines the background color of the text box added. | 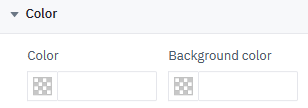 |
|
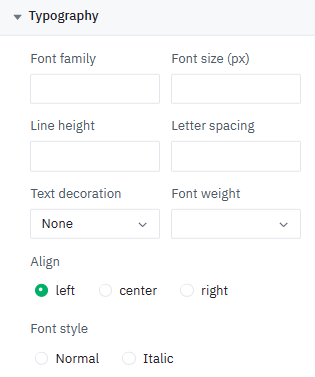
Type in the font name you want to use in 'font family' and the size you want it in. Line height, letter spacing, text decoration, and font weight are a few more options you can use to customize the spacing around the font. You can fix the alignment of the text and other font styles of the text added as well. |
 |
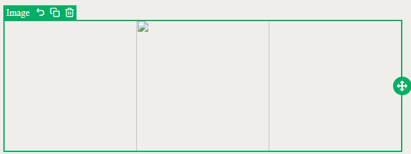
Image
You are also given the option to add images to your custom emails. You can now do this by dragging and dropping the following image icon anywhere in the email body.
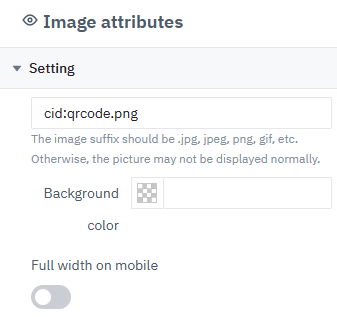
Once the above has been done a new set of settings will be visible to you on the right-hand side under the heading ‘Image attributes’ where you can edit the image added as follows:
|
The image suffix should be .jpg, jpeg, png, gif, etc. Otherwise, the picture may not be displayed normally. Refer to this article for steps to upload and convert an image to an embeddable URL. At this point, you are also given the option to customize the background color of the image you are adding. Activate the toggle 'full width on mobile' if you wish to show the image on the full width of mobile devices. |
 |
|
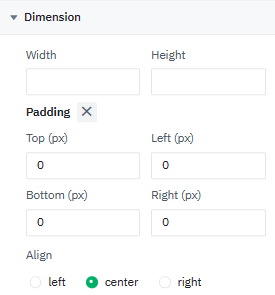
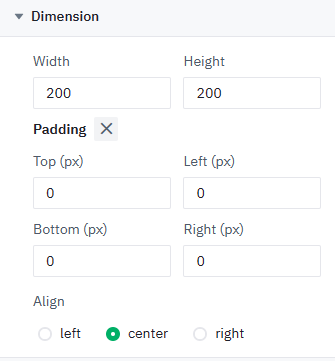
The dimensions section gives you the option to edit the width and the height of the image added. Customizations in the padding section give you the option to edit the space around the image you added along with alignment options.
|
 |
| You can also hyperlink the image you add along with adding a border. | 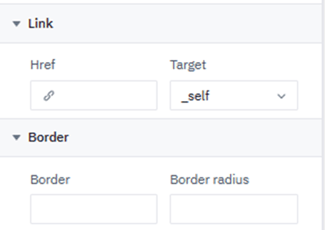 |
❗There is no option to upload images directly to the editor as yet. If you require to add an image, you should upload it to another storage platform, make sure it is 'public' to share, and paste the link in the editor.
Button
You can add buttons in your email to re-direct people to external links or any other call-to-actions. This can be done by dragging and dropping the button icon anywhere on the body of the email.
Once a button has been added a separate set of settings will be visible to you on the right-hand side panel under the heading ‘button attributes’ where you can make changes and customize the button to your preference.
|
You can rename the word 'button' to what you want to name it. You can add the link at this point to which you want to hyperlink the button. |
 |
|
The dimensions at this point edit the width of the button and the font weight. Padding gives you the option to edit the space around the button while inner padding gives you the option to edit the spacing around the text within the button. |
 |
| At this point you can select the color of the font, the color of the button, and the color of the background the button is placed. |  |
|
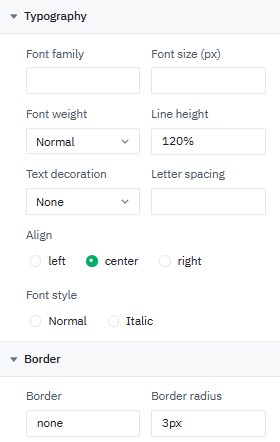
The typography customizing option gives the ability to edit the text inside the button to your liking and branding. Type in the font name you want to use in 'font-family' and the size you want it in. Line height, letter spacing, text decoration, and font weight are a few more options you can use to customize the spacing around the font. You can fix the alignment of the text and other font styles of the text added. The border edits give you the option to curve the edges of the button as well. |
 |
Social
This option gives you the ability to add any social media links to your email. You can drag and drop the following social icon and start editing it to add the links.

Once you select the ‘social’ icon the right-hand side settings will display the following ‘social attributes’ which you can use to edit the social media links view as you wish.
| This setting lets you decide how to display the social media icons. You can display them vertically or as a list view horizontally along with different alignments on the email. | 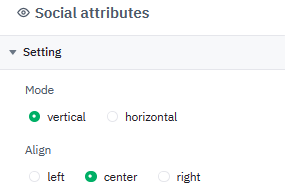 |
| Under the typography settings, you have the ability to change the font type, font size, and the colors of the fonts as well as the background of the social media block. | 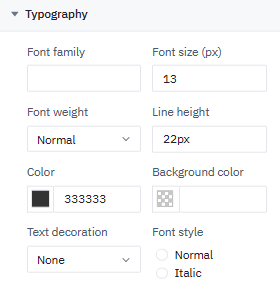 |
|
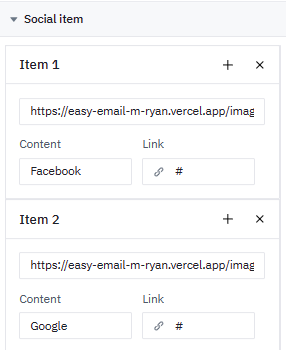
Social items let you decide how many social media links you will have. By clicking on the '+' icon you can add and by clicking on the 'x' icon you can delete any extra items. Here you can also name the social media link you are adding and hyperlink the same. |
 |
|
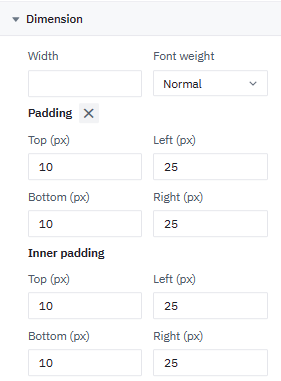
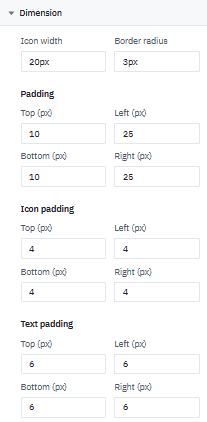
The dimensions at this point edit the width of the button and the border-radius. Padding gives you the option to edit the space around the button while inner padding gives you the option to edit the spacing around the text within the button. Text padding decides the spaces between the text added inside the button. |
 |
Divider
This gives you the option to separate the content in your email in a professional manner using a horizontal line. You can drag and drop dividers wherever you wish to on your email body.
When the divider that you added is selected, you will see the exclusive ‘divider attributes’ on your right-hand side panel which you can use to customize the divider added.
| Dimensions settings in divider attributes make you decide the width of the divider you are adding along with the alignment and padding details. | 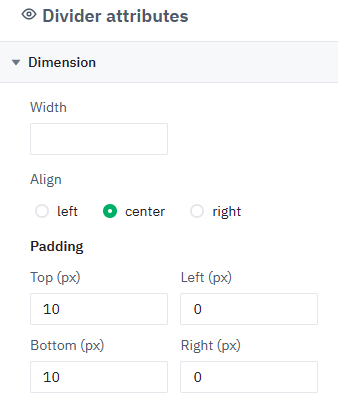 |
| You can also decide to add a border in different sizes, styles, and colors for the horizontal line and also change the background color of the divider added. | 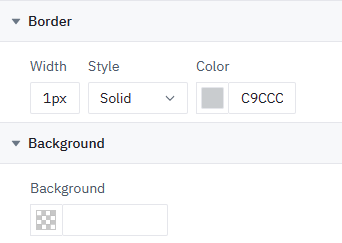 |
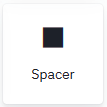
Spacer
This option can be used to add an empty space between the content of your email. Simply drag and drop where you require the space to be added and it will create a space in between the content.
The ‘spacer attributes’ will be available on the right-hand side panel which you can use to edit the spacer added.
| Dimensions settings in spacer attributes make you decide the height of the spacer you are adding along with the padding details. | 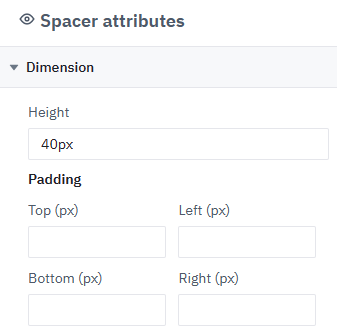 |
| You can also select a background color to match the branding of your organization or the email color palette. |  |
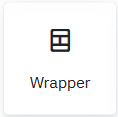
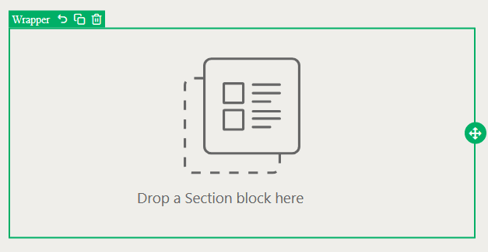
Wrapper
You can group content within the page or within the content block by using a 'wrapper'. Simply drag and drop the following icon and start adding content within the wrapped section.
The wrapped section will look as follows and you can add content in this area.
| The wrapper attributes let you decide the padding around the wrapper so that the content looks spaced out. | 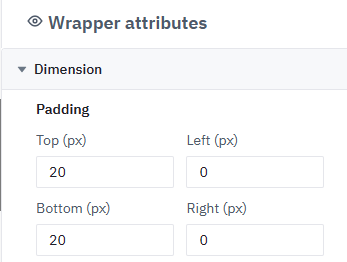 |
| You can also add a separate image as the background of the wrapped section along with colors. | 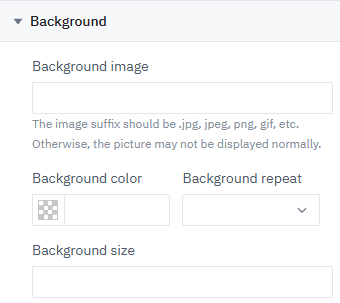 |
| You can customize the border of the wrapper added at this point by adding CSS values (ex: solid (x)px) (x: being a number). | 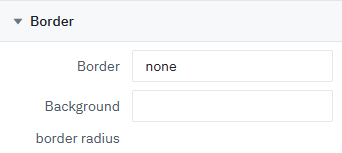 |
QR code
This option gives you the ability to add the QR code related to the Brella invite in your email. In the HTML editor, this is shown as a merge tag but here it is a different component that you can drag and drop the following icon to where you want to add the QR code image.

Adding the QR code to the email body will give easy access to the event attendees to join the event if you decide to link the QR code to the event join link.
❗When you drag and drop the QR code to the editor, you will see the following broken link icon but the QR code is added correctly and is visible in the preview options.
Editor view
Preview
💡If you do not want to add the Brella QR code you are also given the option to add any other QR code created as an image and customize it using the image attributes.
❗There is no option to upload images directly to the editor as yet. If you require to add an image, you should upload it to another storage platform, make sure it is 'public' to share, and paste the link in the editor.
|
The image suffix should be .jpg, jpeg, png, gif, etc. Otherwise, the picture may not be displayed normally. At this point, you are also given the option to customize the background color of the image you are adding. Activate the toggle 'full width on mobile' if you wish to show the image on the full width of mobile devices. |
 |
|
The dimensions section gives you the option to edit the width and the height of the image added. Customizations in the padding section give you the option to edit the space around the image you added along with alignment options. |
 |
| You can hyperlink the QR code image added as well and decide on several border customization options. | 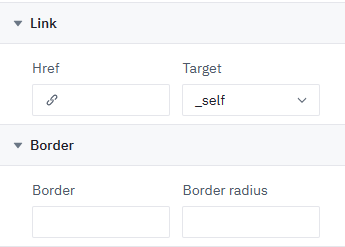 |
Page attributes
This section displays the general settings related to the whole page the email is getting created on.
| You can repeat the subject that you entered in the previous step when creating the email (or add a slightly more detailed one here). It should ideally be less than 80 characters. |  |
|
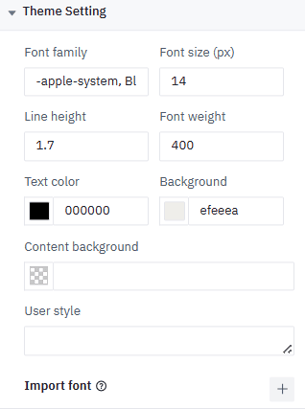
You can set up the font styles, and size along with line spacing with font/background colors for the whole page at this point. Import font: This is an advanced setting that you can use if you absolutely want to host a CSS file or font file on your server. |
 |
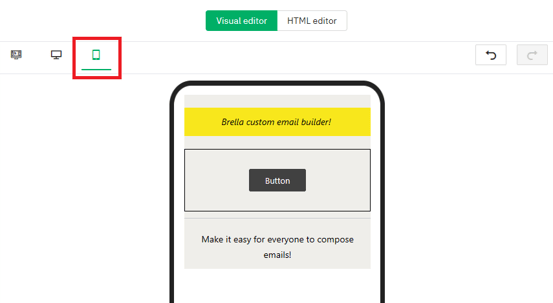
Layout
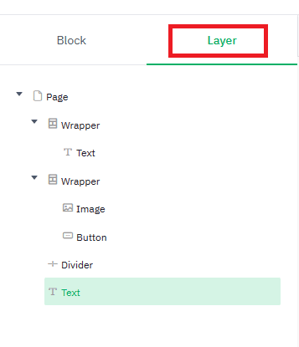
By clicking on the 'layer' option you will be able to see the flow of the email which you have built. This will give you an understanding as to which section has been added where.
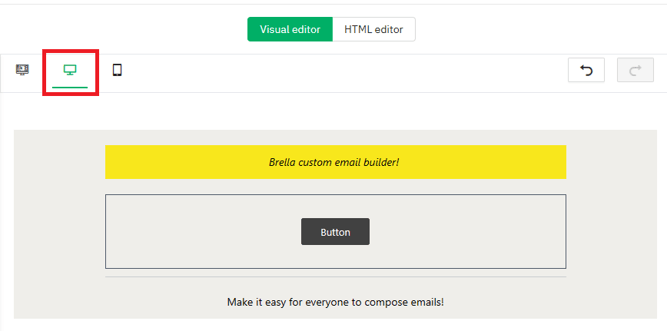
You can also preview the layout of your email by selecting the computer or the mobile icons given on top of the editor.
Computer preview
Mobile preview
💡Make sure you go back to the editor view to edit content as you will not be able to edit on the computer or mobile preview.
Last updated - November 2023.
Written by Nisansala Wijeratne.

If you didn't find an answer to your questions, please get in touch with the Support Team here.
👇