Learn the basics required to start building integrations on Zapier
To be covered:
Intro
A Zapier integration connects your app to 5,000+ of the best business and productivity apps so millions of Zapier users can add it to their workflows.
You’ll need a few things before you connecting your app to Brella:
- A unique Brella API key
- This unique code will allow you to authorize your integration so that it can read and write data from your Brella event
- Our API keys are a unique mix of numbers and letters
- eg: aBc002kl1AaaBCq81234sABcD0123aM000Tt
- Your own Zapier account
- You can start out with a free Zapier account, which offers a 2 week trial
- An invitation to our private app (Brella) on Zapier
- You will find our triggers, actions and templates here
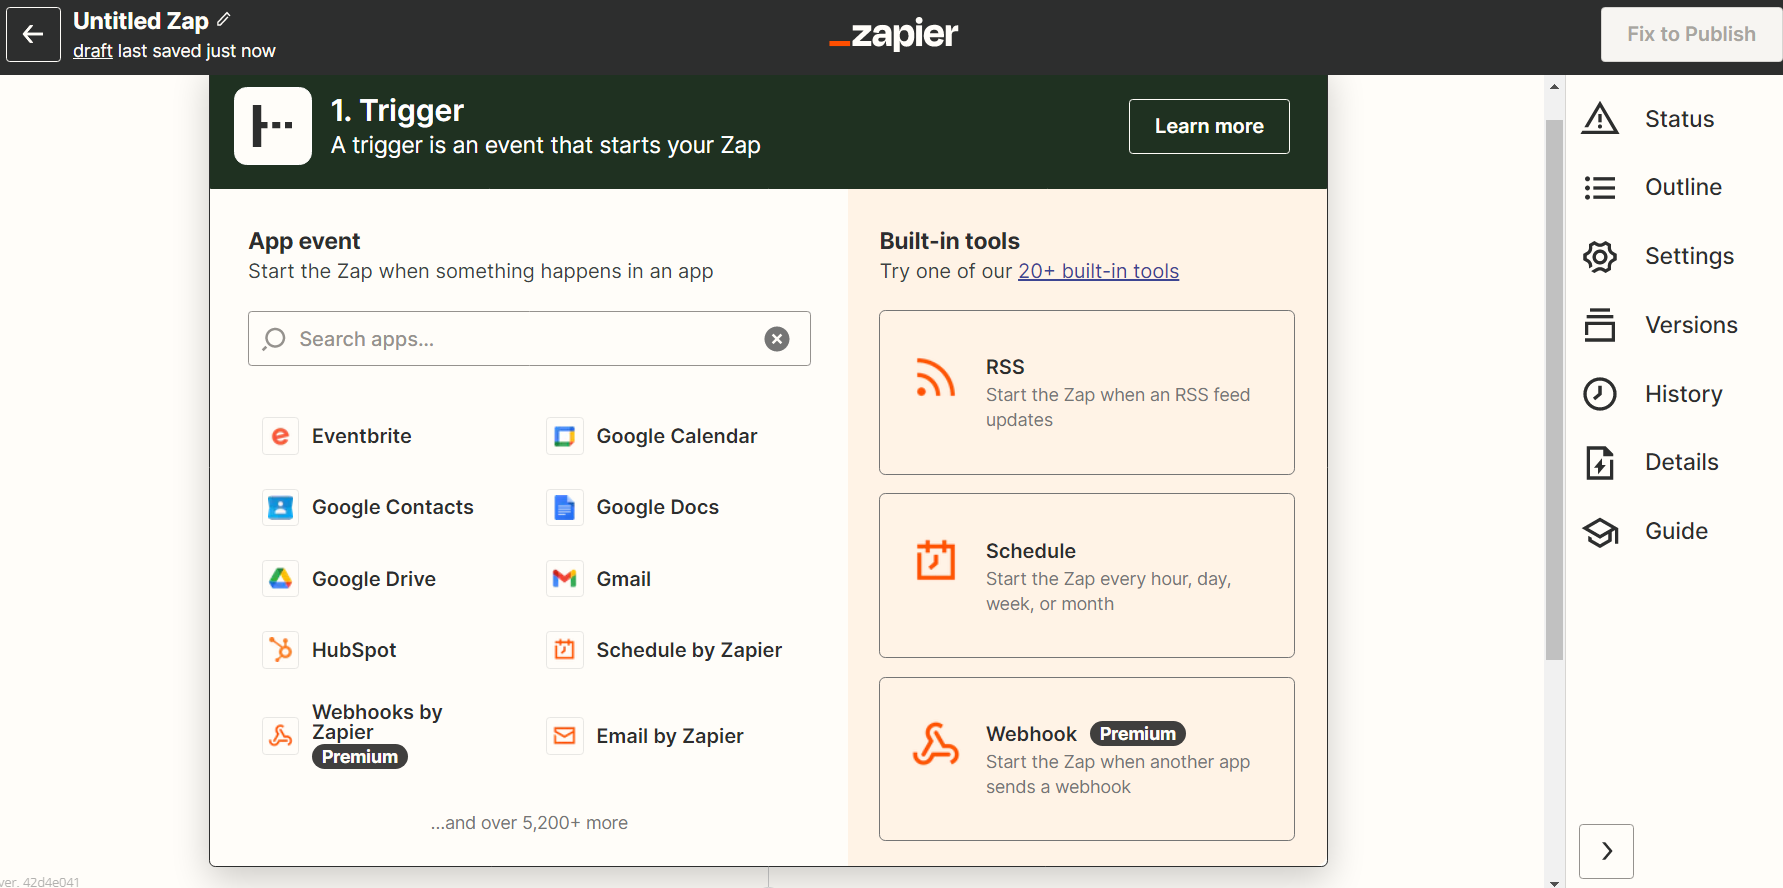
Building Integrations in Zapier
Building a Zapier integration means keeping one eye on the technical bits and one eye on the user experience.
There are two ways to build Zapier integrations on Zapier’s Platform:
- UI-based visual builder
The visual builder lets you create a Zapier integration in your browser without code—then can customize the integration with code if needed. For more details visit integration design guide
- CLI
The CLI, lets you build integrations in your local development environment, collaborate with version control and CI tools, and push new versions of your integration from the command line. For more details visit developer docs.
Both run on the same Zapier platform, so choose the tool that fits your workflow the best.
Test Your Integration
It is best to test authentication, triggers, and actions as you add them to your app. In the Platform UI, you can test each step live in the editor as it’s built.
Note: You may have to refresh a few times for new triggers and actions to appear.
After you’re done building, invite users to try your integration before making it available to a wider audience.
Last updated - Nov 2022.
Written by Natasha Santiago

If you didn't find an answer to your questions, please contact the Support Team here.