Learn how to customize the schedule widget’s styling through the admin panel
To be covered:
Intro
You can customize the way the Brella widget looks on your webpage by choosing your preferences on the admin panel.
Customizations available
There are many customization options made available to you with a click of a button as well as manual CSS code editing.
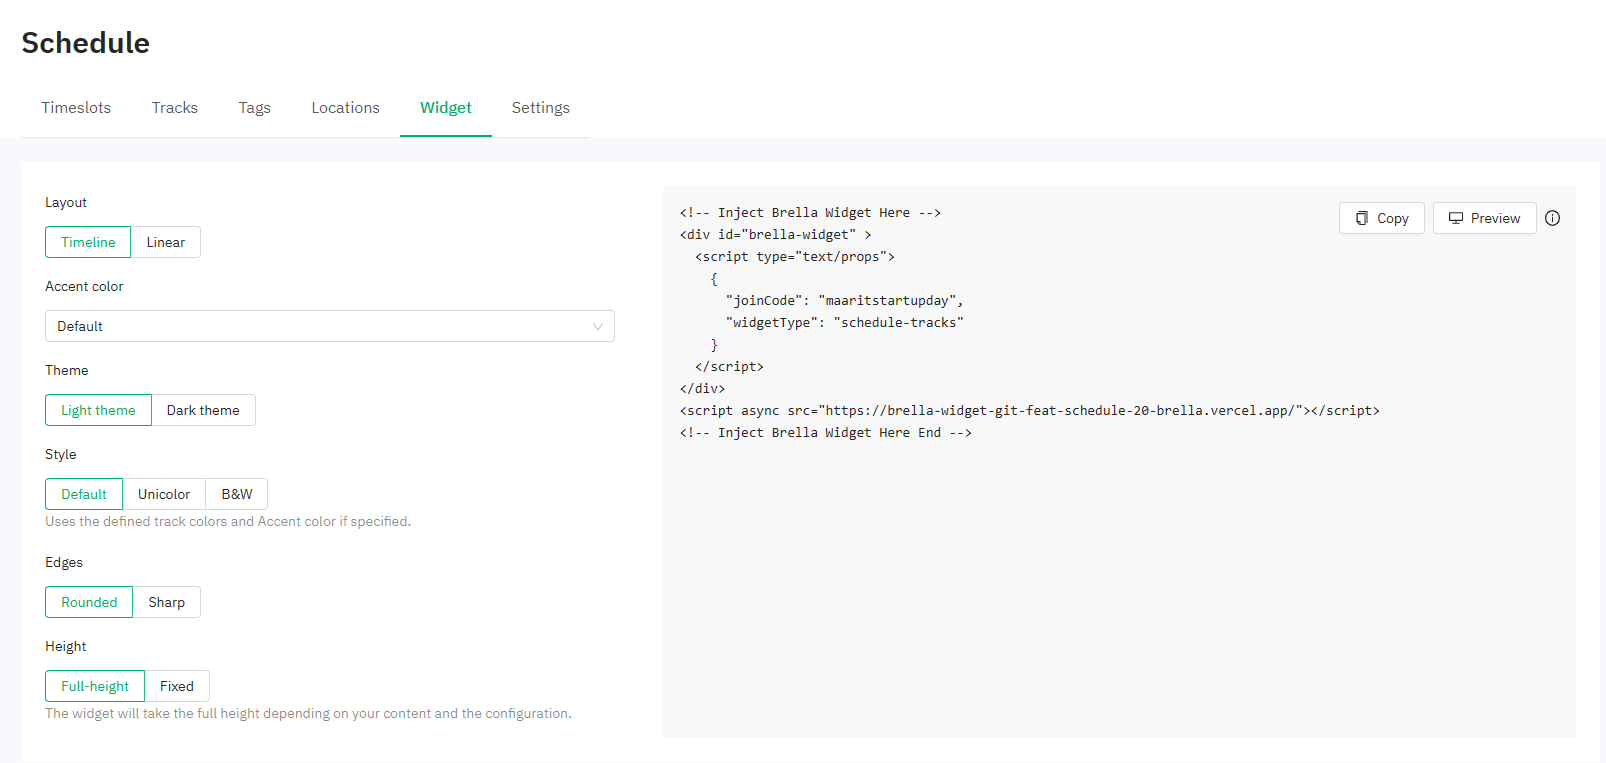
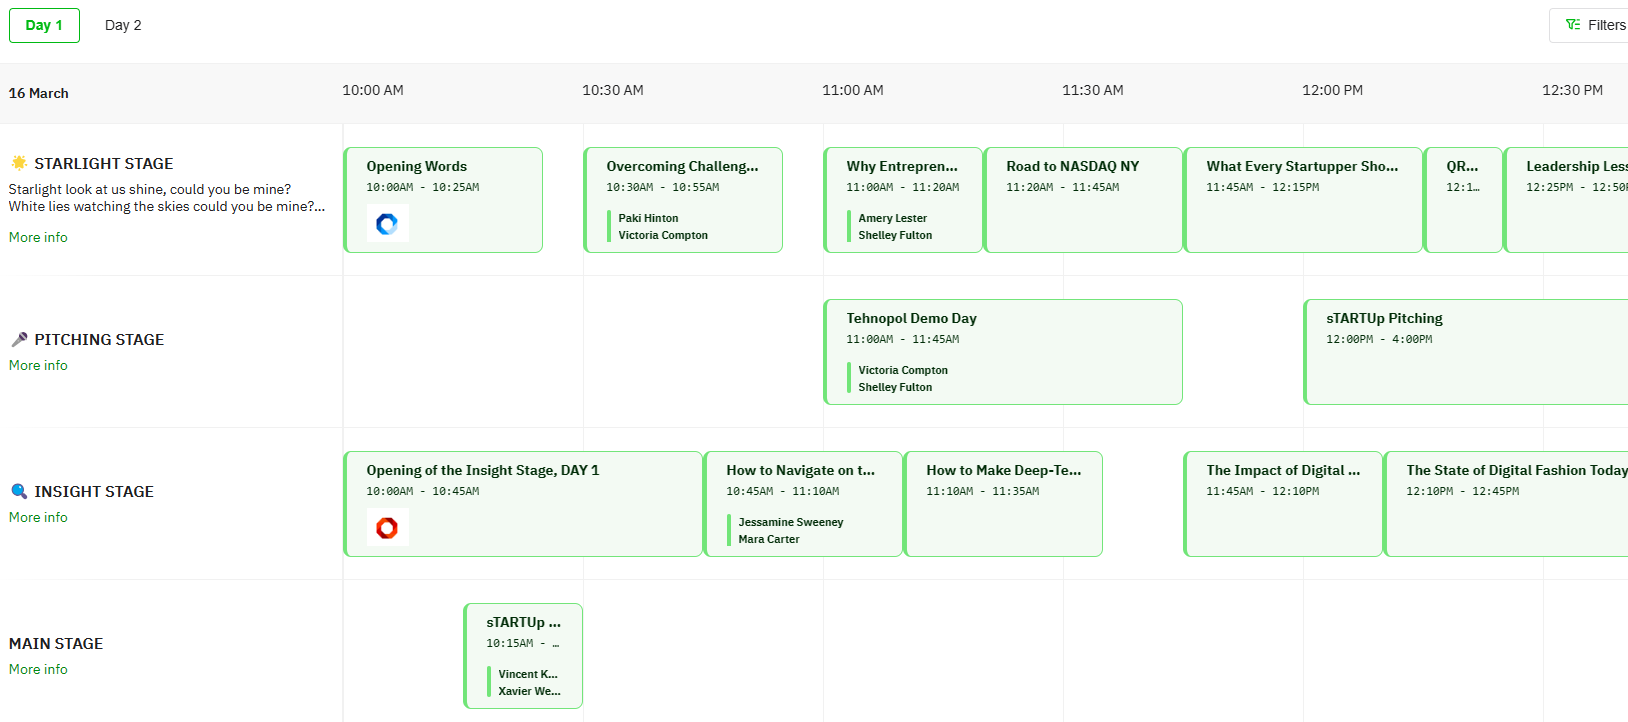
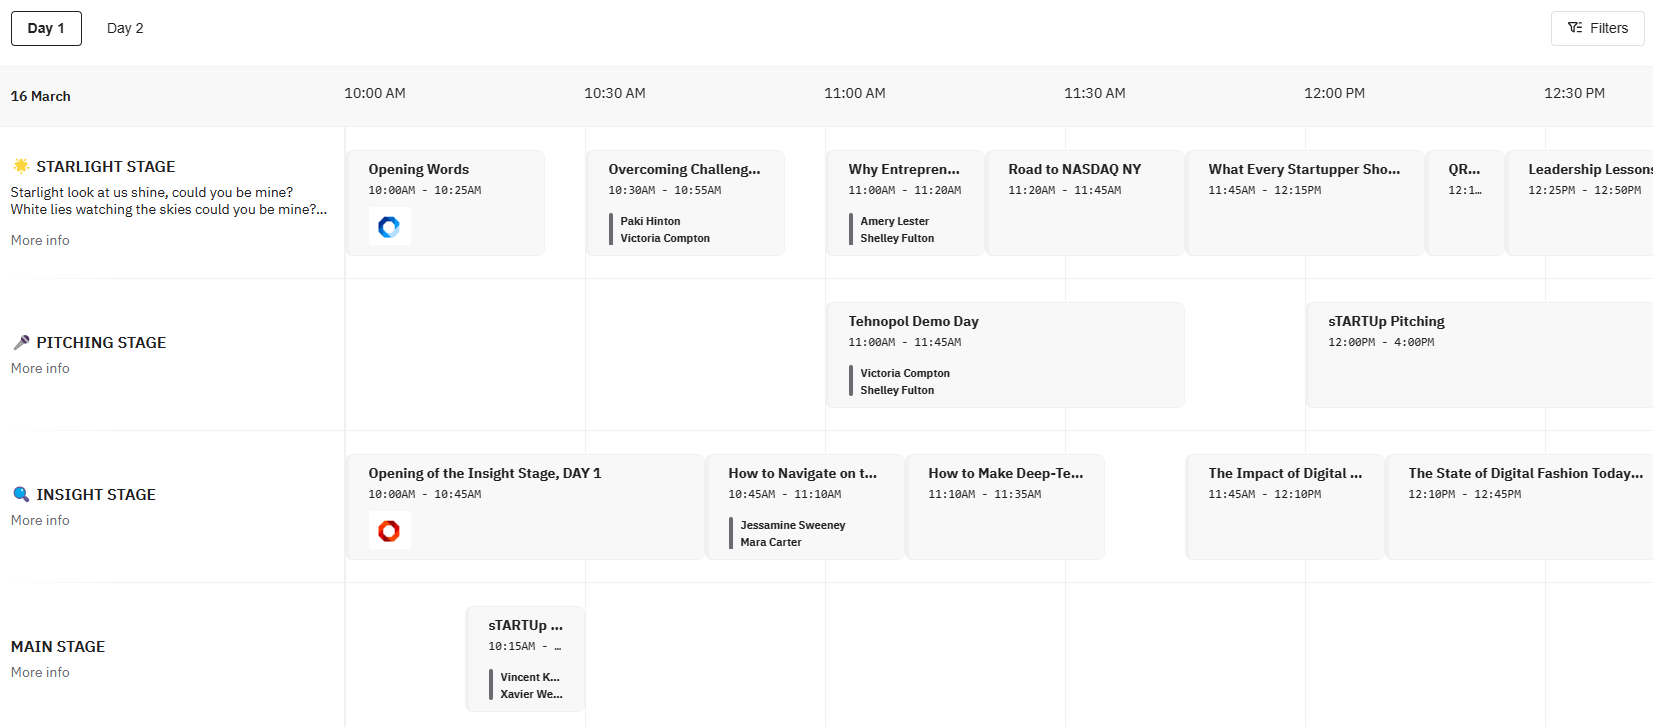
- Layout - You can select the layout you want to display in the widget. In the same way as the web app view, you are given two layouts as 'Timeline and Linear' to select from.
Timeline View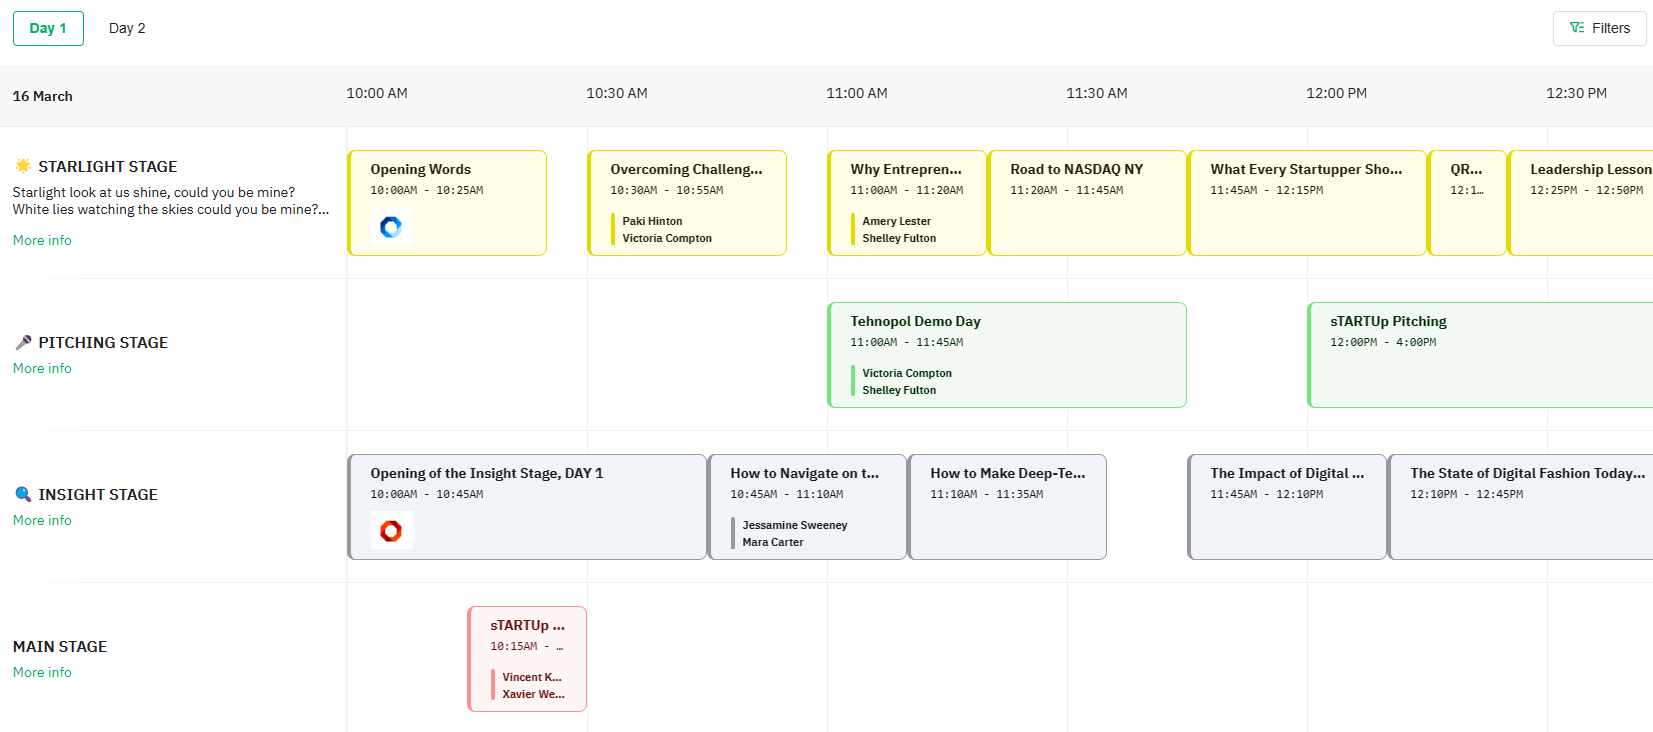
Linear View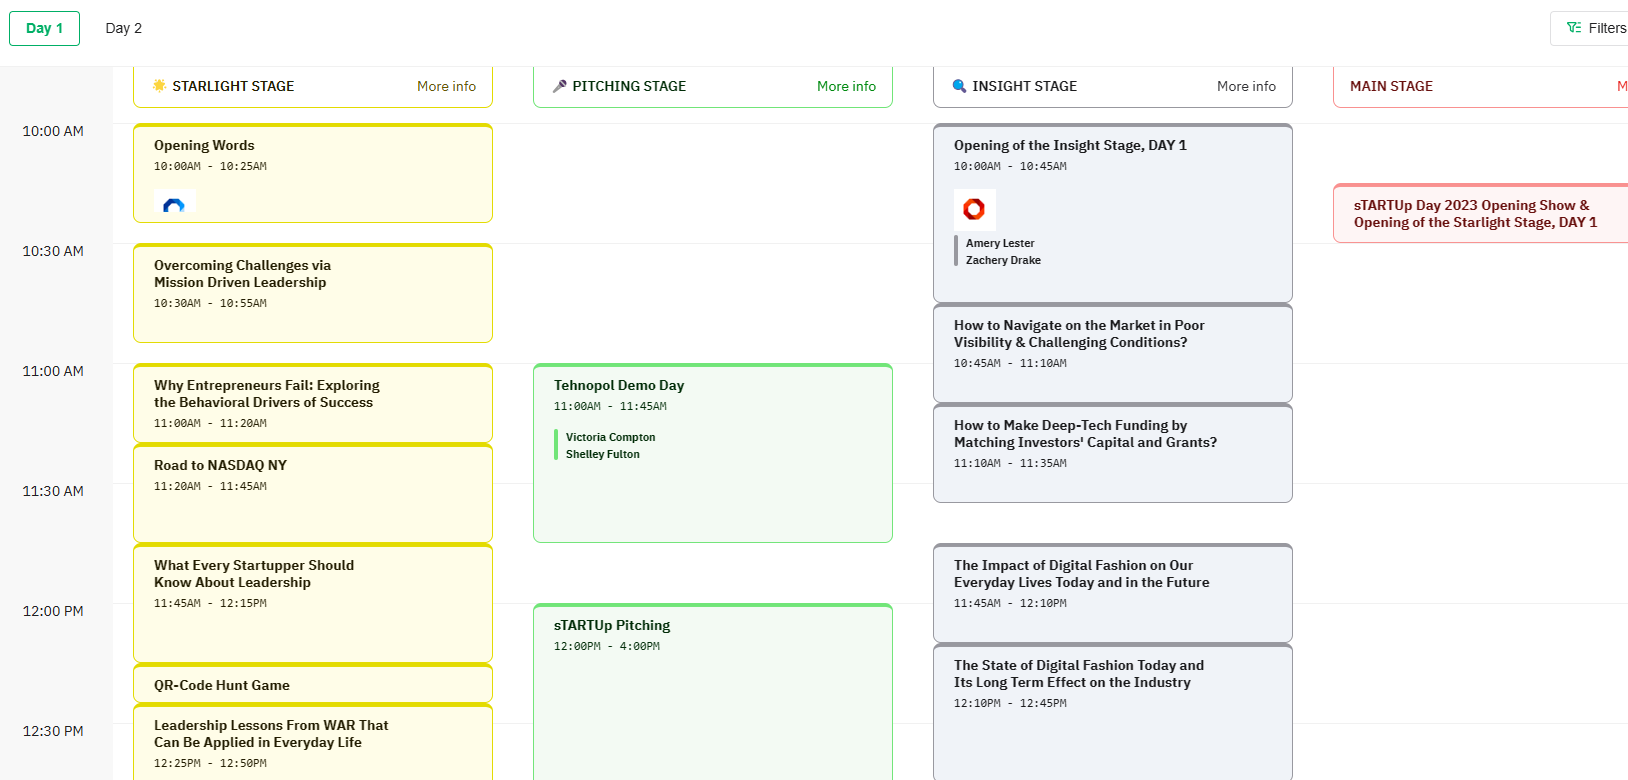
- Accent color - There are 14 accent colors given here in the dropdown for you to select a color to suit your event web page. Accent color defines the color of the buttons available on the schedule.

- Theme - From here you can select whether you want to show the schedule in dark mode or light mode.
Dark mode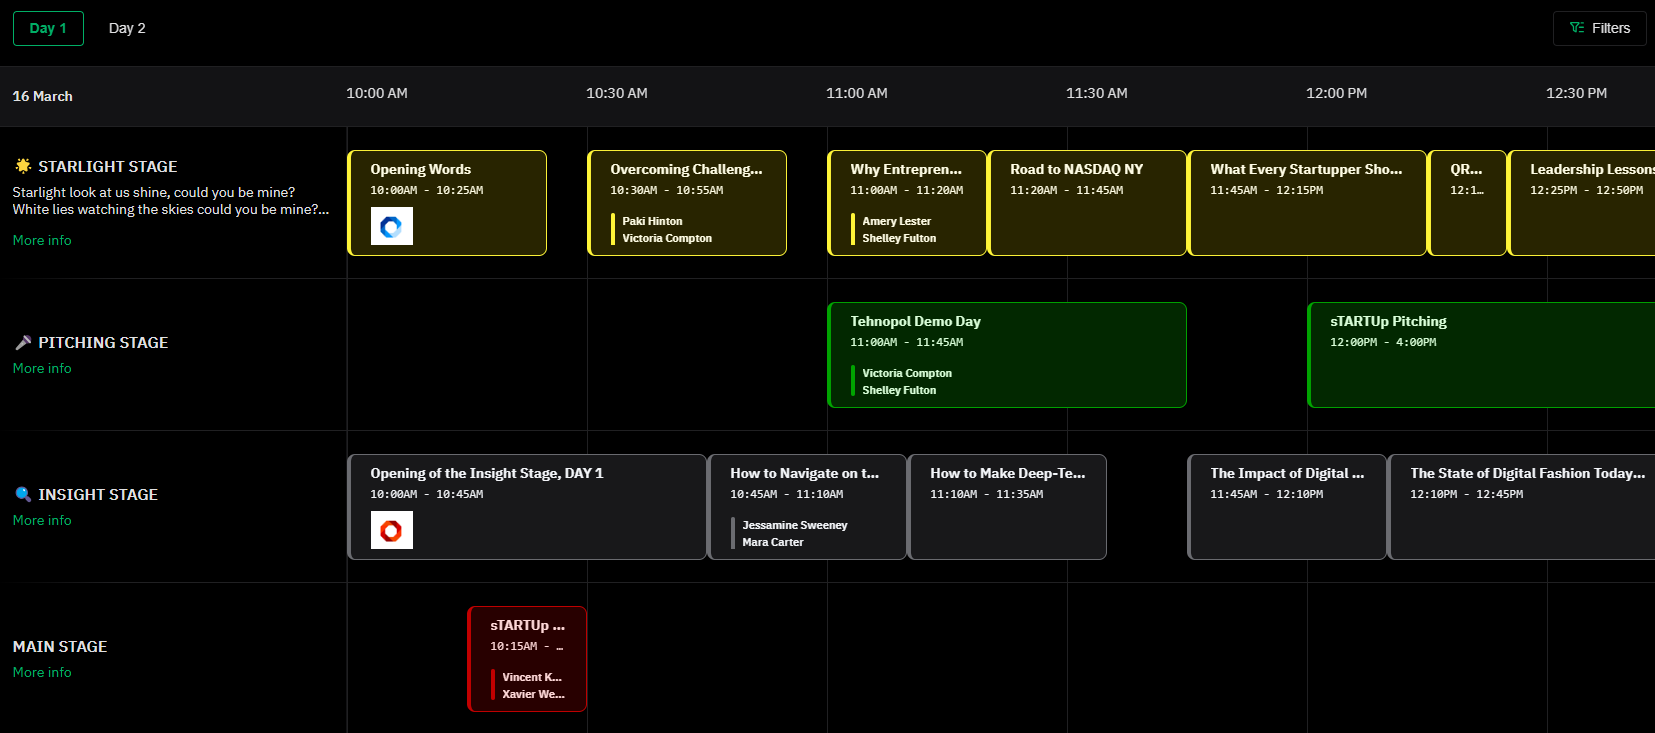
Light mode
- Style - There are three styles as 'Default, Unicolor, and B&W (Black and White) to pick from. You can see the examples as follows:
- Default - This option will show the schedule by default using the track colors you have assigned on the admin panel.
- Unicolor - This option will color all the tracks using the default 'Accent color' or the color you have selected.
- B&W - In this option, there will be no colors used to display the schedule. All the content will be visible only in Black and White.
- Edges - You can also select whether you want to have Sharp edges on the schedule tiles or Curved edges.
Curved edges Sharp edges 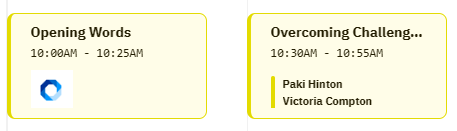

- Height - There are two options given here as well as 'Full height or Fixed'. If selected Full Height, the widget will take the full height on your web page depending on your content and configuration. If selected Fixed, the schedule will fit with scroll bars into a container set by your web developer.
Once the customizations are set as per your preference, you can click on the top right-hand corner 'preview' button to view how the widget will look on your website. Once finalized, click on the 'copy' button to copy the widget CSS code to be added to your website.
The session details and filters will open as 'pop-ups' instead of separate drawers unlike in the web app.
- How to remove the filter option from the schedule view by editing the CSS code

<style>👇Result
.brella-schedule-filters-button {
display: none;
}
</style>

Last updated - December 2023.
Written by Nisansala Wijeratne.

If you didn't find an answer to your questions, please get in touch with the Support Team here.
👇