Learn how to use the filters available in the schedule tab on the mobile app
To be covered:
Intro
There are a set of filters made available to you in the Brella mobile app, schedule/agenda tab. These filters will allow you to search the exact sessions you are looking for based on your preferences/likings between a few selection categories. This article explains how you can use these filters effectively.
Available filters
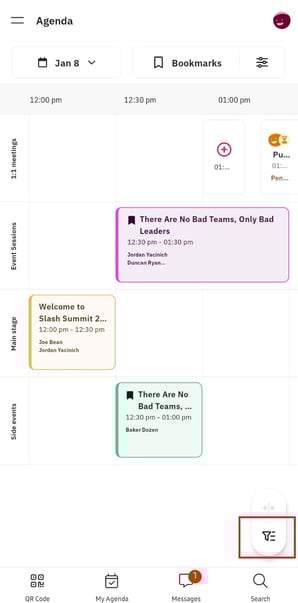
You can view the filters by clicking on the filter icon available on the bottom right corner of the schedule/agenda tab.
The available filters are as follows:

You can select your preferences by clicking on the '>' for each filter and click on 'Apply'. Then you will be redirected to the schedule where only your selected filters will be shown. A count will be shown near the filter icon to show you that you have selected that many filters.
If you require to see the complete schedule again without any filters, make sure you go back to the filters section, click on 'Clear all' and 'Apply'.
Last updated - June 2023.
Written by Nisansala Wijeratne.

If you didn't find an answer to your questions, please get in touch with the Support Team here.
👇