- Help Center
- I am an Event Organizer
- 📖 Streams
-
I am an Event Organizer
- 📖 Getting Access
- 📖 Event Details
- 📖 Customization
- 📖 Ticketing
- 📖 Matchmaking
- 📖 Sponsors
- 📖 Schedule & Widget
- 📖 Attendees & Groups
- 📖 Event Onboarding
- 📖 Speakers
- 📖 Streams
- 📖 Breakout Rooms
- 📖 Event Info Pages
- 📖 Communications
- 📖 Home Analytics
- 📖 Exporting Reports
- 📖 Analytics Tab Overview
- 📖 Traffic Analytics
- 📖 Integrations
- 📖 Best Practices
- 📖 Troubleshooting
-
I am a Sponsor
-
I am an App User
-
I am a Web App User
-
Integrations
-
Brella Partners
-
Brella Dictionary
Streams: Live Streaming Content Through Evmux
Learn, how to live stream your event content through Evmux in Brella.
To be covered
Intro
Once you have built your stream in Brella and connected that to Evmux backstage in-built studio, you can start live streaming that content through Brella. When your stream is live, this will be visible to the viewers in your event page Stream tab.
Live streaming through Evmux in Brella ➡️
- Navigate to your Stream in Brella
- Create a new Stream and choose In-built studio as your Stream type
- Access your studio in Evmux
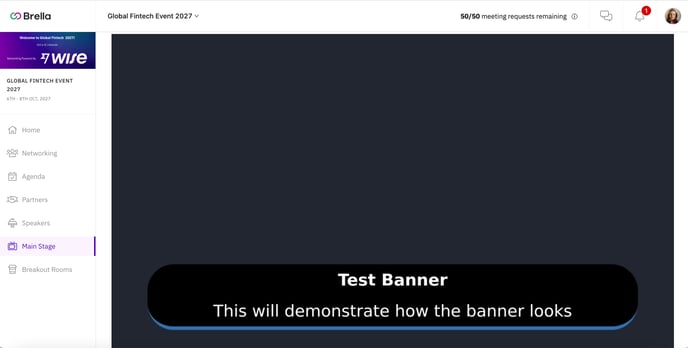
- Build your personalized stream by using the banners and branded overlays available in Evmux. See further instructions here
- Start live streaming in Evmux
- Once the stream is live, viewers can access it at your event
- Live stream will be visible on the Streams tab, in that stream, where you are currently live streaming
Last updated - July 2022.
Written by Natasha Santiago.

If you didn't find an answer to your questions, please get in touch with the Support Team here.
👇