- Help Center
- I am an Event Organizer
- 📖 Sponsors
-
I am an Event Organizer
- 📖 Getting Access
- 📖 Event Details
- 📖 Customization
- 📖 Ticketing
- 📖 Matchmaking
- 📖 Sponsors
- 📖 Schedule & Widget
- 📖 Attendees & Groups
- 📖 Event Onboarding
- 📖 Speakers
- 📖 Streams
- 📖 Breakout Rooms
- 📖 Event Info Pages
- 📖 Communications
- 📖 Home Analytics
- 📖 Exporting Reports
- 📖 Analytics Tab Overview
- 📖 Traffic Analytics
- 📖 Integrations
- 📖 Best Practices
- 📖 Troubleshooting
-
I am a Sponsor
-
I am an App User
-
I am a Web App User
-
Integrations
-
Brella Partners
-
Brella Dictionary
Sponsors: Enable/Disable Sponsor Tab
Learn how to enable/disable the sponsor tab from the admin panel
To be covered
Intro
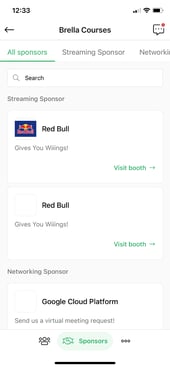
Once you enable the sponsor tab in Brella, all sponsor details are visible to all participants. When setting up sponsors, you may require to disable the sponsor tab temporarily if you wish to hide the sponsor list from the attendees for any reason or only make it visible only during the event or a couple of days before the event. Rest assured that disabling the sponsor tab will not delete any of the contents you have placed in the sponsor's tab.How to enable the Sponsors tab:
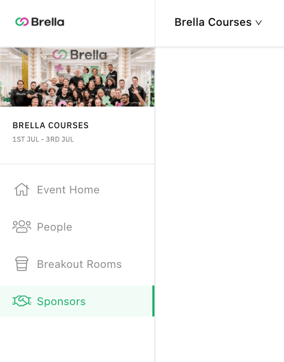
- Navigate to the Admin panel - Sponsors tab
- Enable the sponsor's tab by clicking on Activate
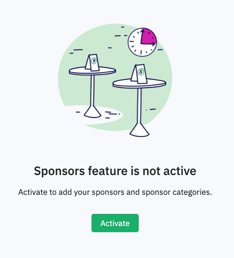
- The sponsor's tab will now be visible both on the web and mobile app.
 .
. 
How to disable the Sponsors tab:
- Navigate to the Admin panel - Sponsors tab - Settings.
- Locate the “Sponsors enabled” toggle on the lower right side of the screen.
- Toggle it to disable the sponsor tab.
Last updated - July 2023
Written by Yusra Mohideen

If you didn't find an answer to your questions, please get in touch with the Support Team here.
👇