Learn how to set up networking rules specific to the groups
To be covered:
- Intro
- Networking rules
- How to set up Networking groups?
- Send and receive requests from eligible groups
Intro
As the event organizer, you can now set networking rules to define who can meet who by creating groups in Brella. This allows attendees of a particular ticket type to only network with attendees of the selected groups. This also applies to both meeting requests and messages.
- Anyone (networking is allowed with any attendee)
- No one (networking requests can’t be sent to anyone / they can only be received from other groups)
- Specific groups (meeting and open chat requests can be sent to the specified groups only — requests from unapproved groups can still be received and accepted)
How to set up Networking rules
- Go to the admin panel and select People
- Go to Groups
- Click Edit on the group you selected
- Go to Networking rules
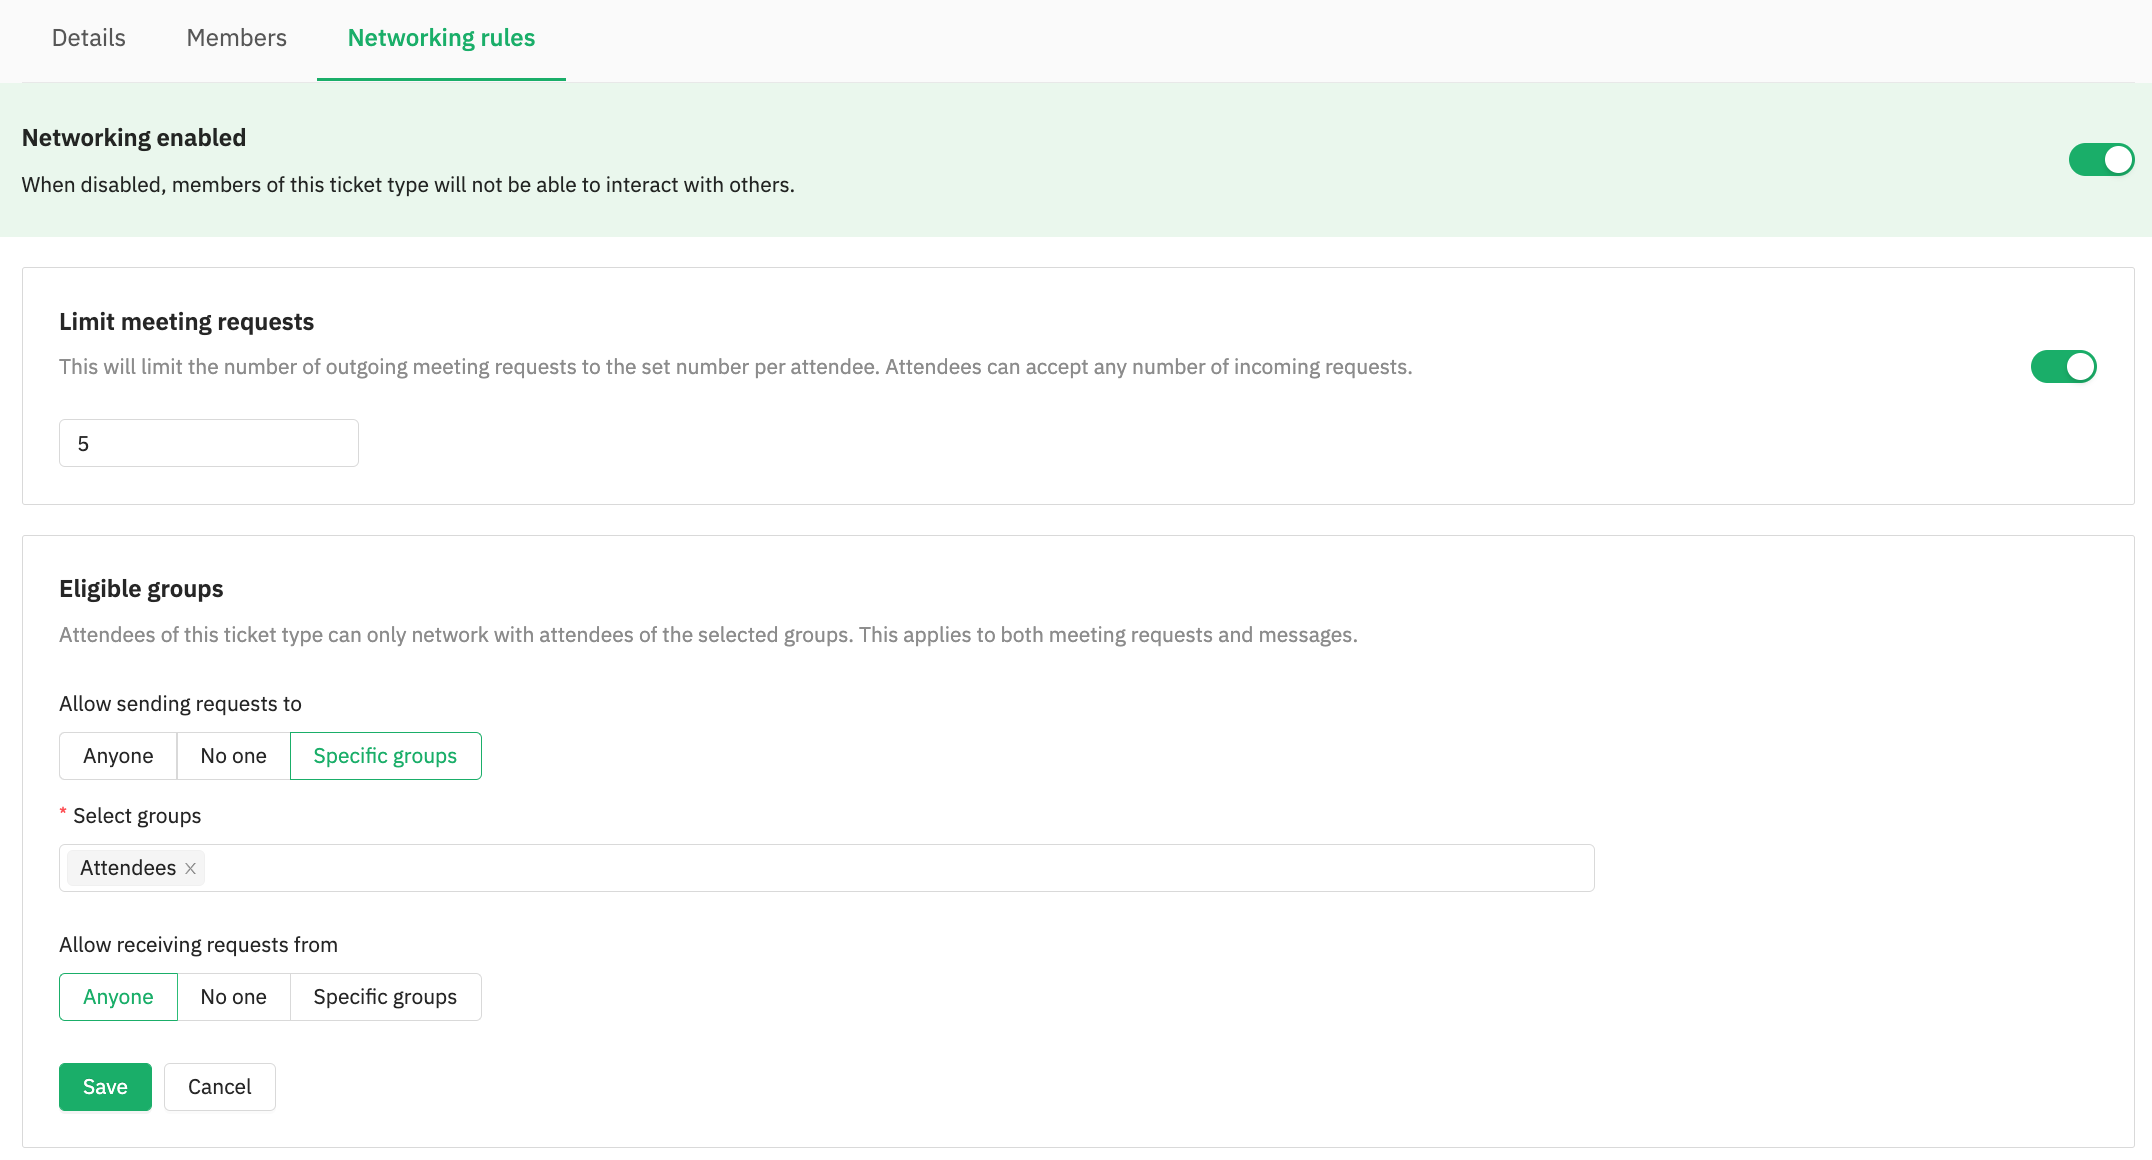
- Enable Networking - When disabled, members of this ticket type will not be able to interact with others.
-
Limit meeting requests - This will limit the number of outgoing meeting requests to the set number per attendee. Attendees can accept any number of incoming requests.
- Select the Eligible group for the following options
- Allow sending requests to Anyone, No one, or Specific groups
- Allow receiving requests from Anyone, No one, or Specific groups
- Click on Save
Send and receive requests from Eligible Groups
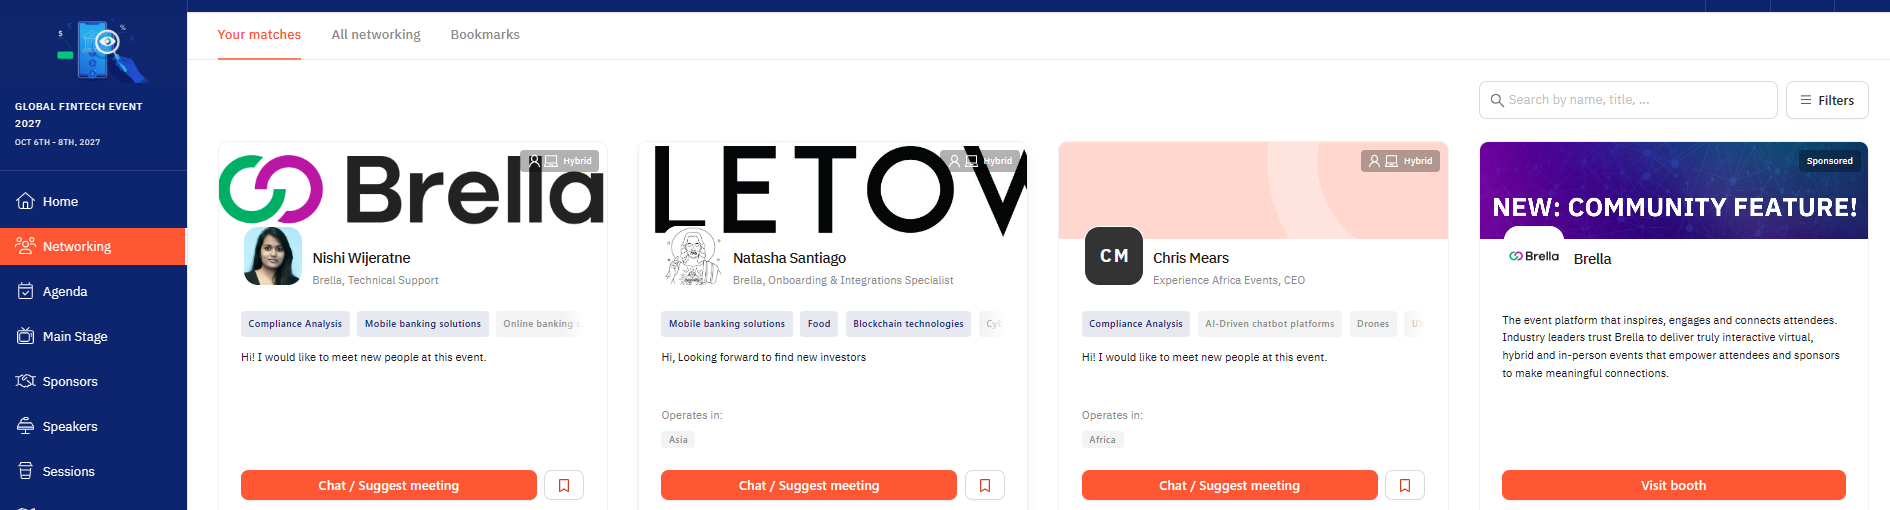
On both Web and Mobile app, the attendees can only initiate chat and meeting requests with members from eligible user groups
The “Your matches” sub-tab in the “People” tab will only show eligible matches.
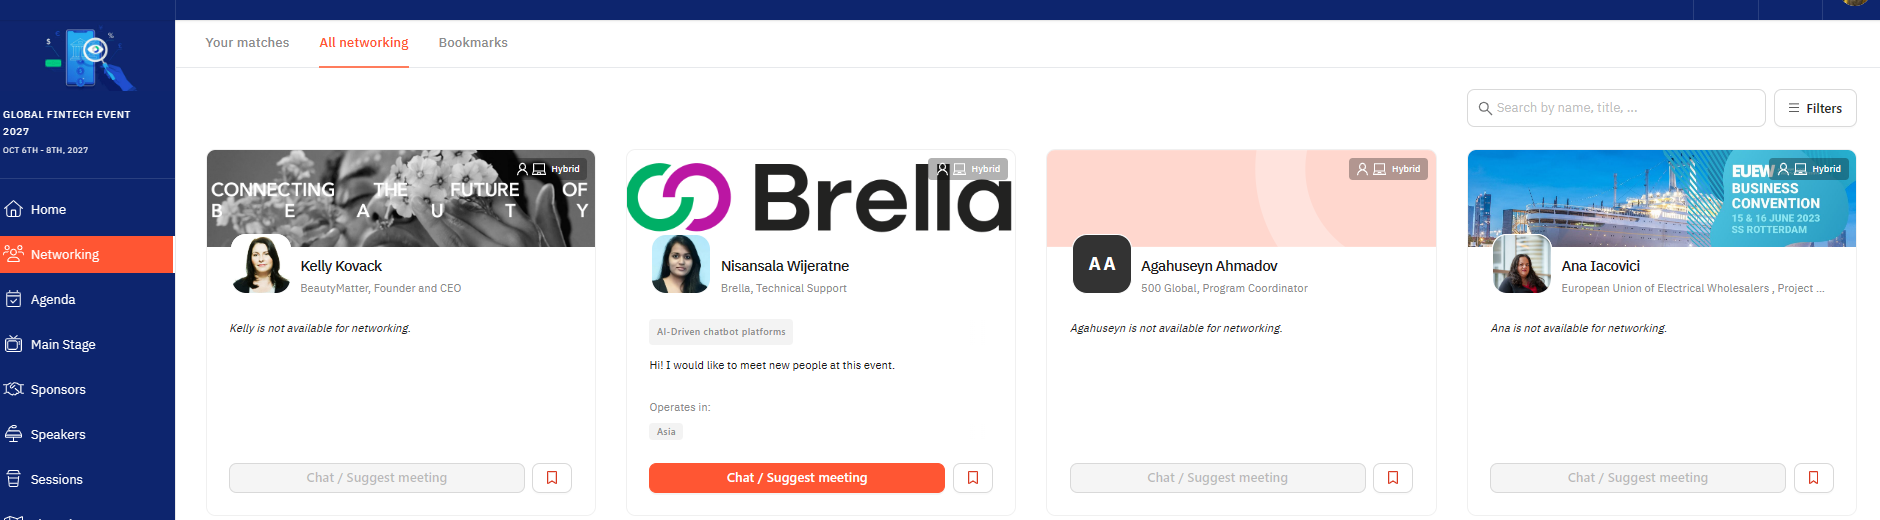
The “All attendees” sub-tab in the “People” tab will show all attendees — However, attendees from ineligible user groups will have the “Connect” button greyed out.
Last updated - July 2023
Written by Yusra Mohideen

If you didn't find an answer to your questions, please get in touch with the Support Team here.
👇