- Help Center
- I am an Event Organizer
- 📖 Schedule & Widget
-
I am an Event Organizer
- 📖 Getting Access
- 📖 Event Details
- 📖 Customization
- 📖 Ticketing
- 📖 Matchmaking
- 📖 Sponsors
- 📖 Schedule & Widget
- 📖 Attendees & Groups
- 📖 Event Onboarding
- 📖 Speakers
- 📖 Streams
- 📖 Breakout Rooms
- 📖 Event Info Pages
- 📖 Communications
- 📖 Home Analytics
- 📖 Exporting Reports
- 📖 Analytics Tab Overview
- 📖 Traffic Analytics
- 📖 Integrations
- 📖 Best Practices
- 📖 Troubleshooting
-
I am a Sponsor
-
I am an App User
-
I am a Web App User
-
Integrations
-
Brella Partners
-
Brella Dictionary
Schedule & Widget: Disable/Enable The Schedule Tab
Learn how to disable/enable the schedule tab in the admin panel.
To be covered
Intro
The event organizer can disable the Schedule tab from the event if they wish to hide the upcoming sessions or don't want attendees to schedule meetings. All the agenda content will remain intact and no changes will be done on the admin panel. Only the attendees will not be able to view the event agenda from the event front-end https://next.brella.io
How to (Steps)
1. Navigate to the Admin Panel - Content - Schedule
2. Click on Settings on the top bar. Toggle to enable or disable the schedule.
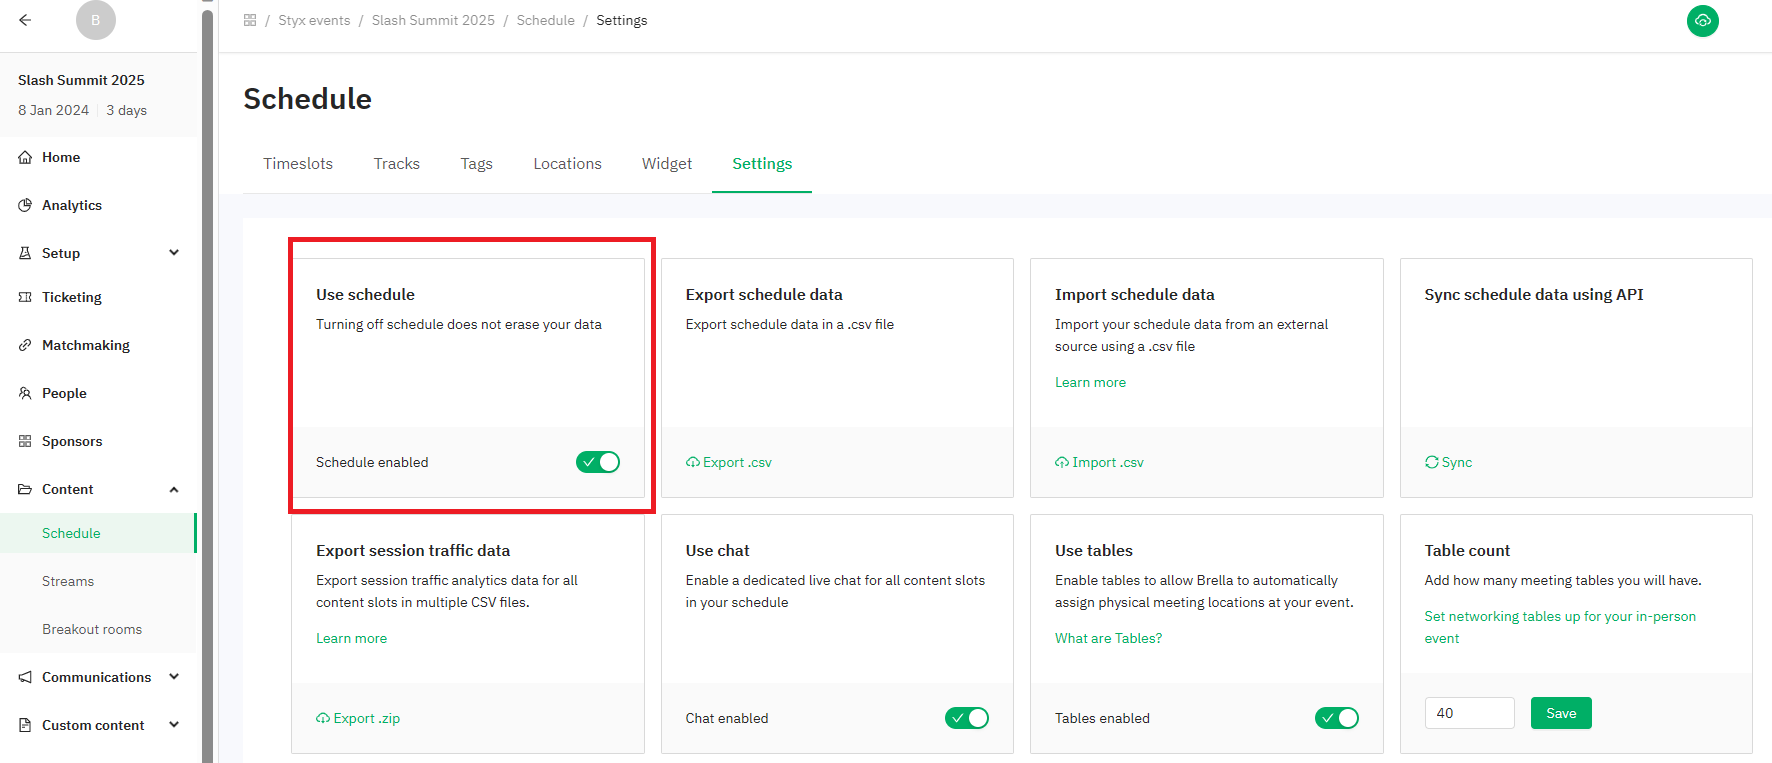
⚡Note: All data you have saved previously in the schedule remains, in case you wish to activate the schedule back.
Last updated - June 2023.
Written by Nisansala Wijeratne.

If you didn't find an answer to your questions, please get in touch with the Support Team here.
👇