Learn how to import/export attendee invites at once using .CSV files
To be covered
Intro
CSV files take off the hassle of having to add invites one by one and let you add multiple invites at once. When importing new invites to Brella or updating them, it's crucial that you follow the steps below to avoid mistakes or duplicates. We highly recommend using Google Sheets or Open Office to import/export the CSV file.
Now you can bypass the tedious prep work, and import/export attendee invites using almost any CSV file (regardless of the structure) and map columns in Brella.
Prepare .CSV file
When preparing CSV files, you can either follow a template given by Brella or create your own with as many columns as you may need with as many headings in the CSV and upload the same to the admin panel. Either option you use, make sure you create the CSV keeping these tips in mind.
Import invites (steps)
The steps to follow if you are using a standard Brella template can be found in this article. If you are preparing the CSV to your own template with your own set of columns, you can follow the below steps to import the invites to the admin panel.
- Go to the Admin Panel ➡️ People ➡️ Invites
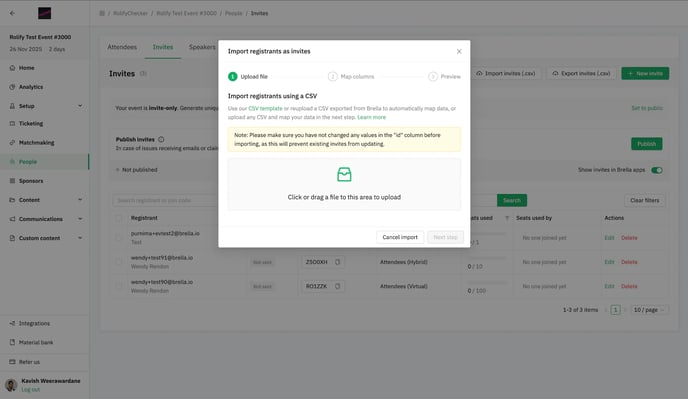
- Import invites CSV file from the Admin Panel in the PEOPLE tab - INVITES sub-tab by choosing "Import Invites (.csv)".
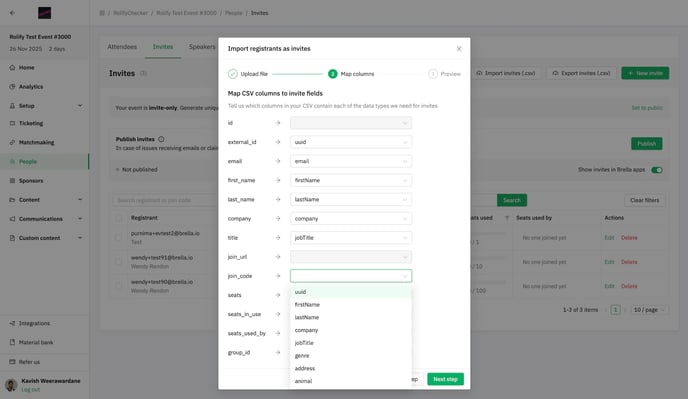
- Map the columns in your CSV to the correct fields in Brella.
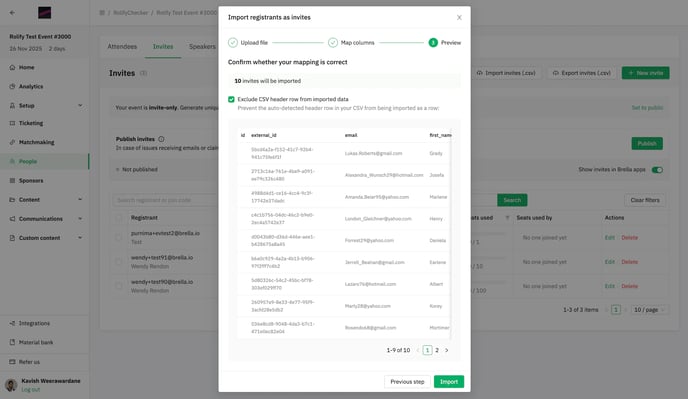
- Preview your upload to make sure everything is correct. Seats should have at least one (1) seat; otherwise, participants will not be able to join the event.
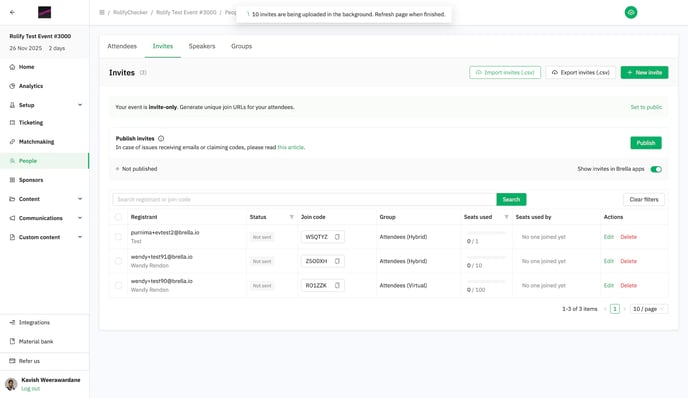
- Success!
Last updated - July 2023.
Written by Nisansala Wijeratne.

If you didn't find an answer to your questions, please get in touch with the Support Team here.
👇