The People tab gives you access to Attendee details, Invites for each participant who has joined the platform, and the Speakers tab.
 In the Attendee tab, you get to see the list of attendees and their information.
Under the Invites tab, you can generate a unique join code for each attendee, and lastly, under the Speakers tab, you can create profiles for speakers, moderators, guests, etc.
Content
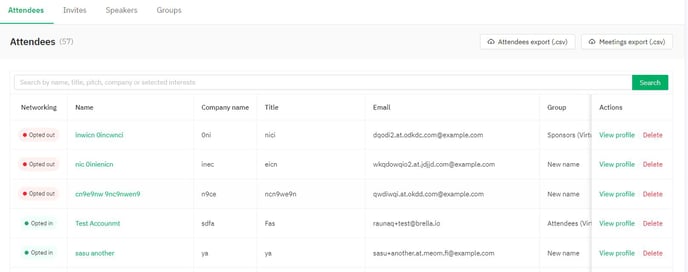
Attendees
When you click on Attendees, you'll see the list of registered participants. The participants provided all the details, such as name, company's name, title, networking status, sign-in method, meetings, and email used to log in.
You'll also see how many meetings they have during and post-event by clicking on the View Profile under Actions.
Under Actions, you can remove anyone from your event; this is where you can do so. Click on Delete.
In this sub-category, you can also arrange meetings between participants, attendee-speaker, sponsor-attendee, and so on. You can do it even on this page by following the hosted-buyer program instructions.
👉Note: You can also export data about the attendees and their meetings, i.e., 'who-met-who' for your own particular usage and/or for your sponsors and attendees. You need to click on 'Attendees export' or 'Meetings export' to obtain this data or visit this article.
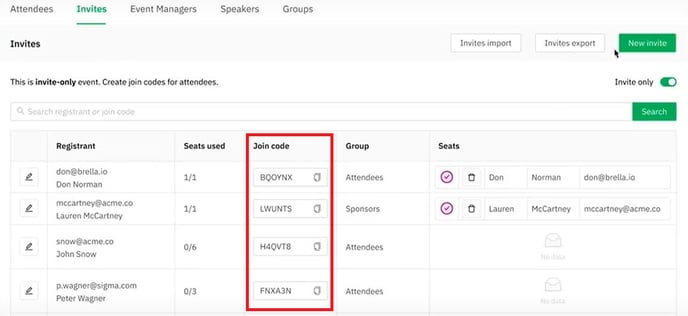
Invites
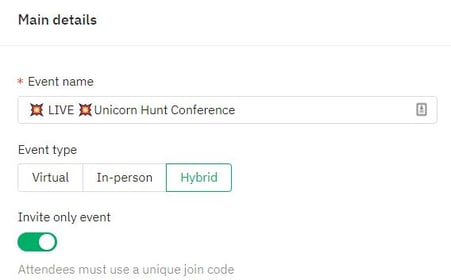
On this tab, you can generate the join code and join link for each attendee. This feature will be available if you use the Invite-only method for your event.
You can learn how the Invite-only feature works here, and for details on how to create them in bulk or one-by-one, generate the links, and send them out to every attendee, you can go here.
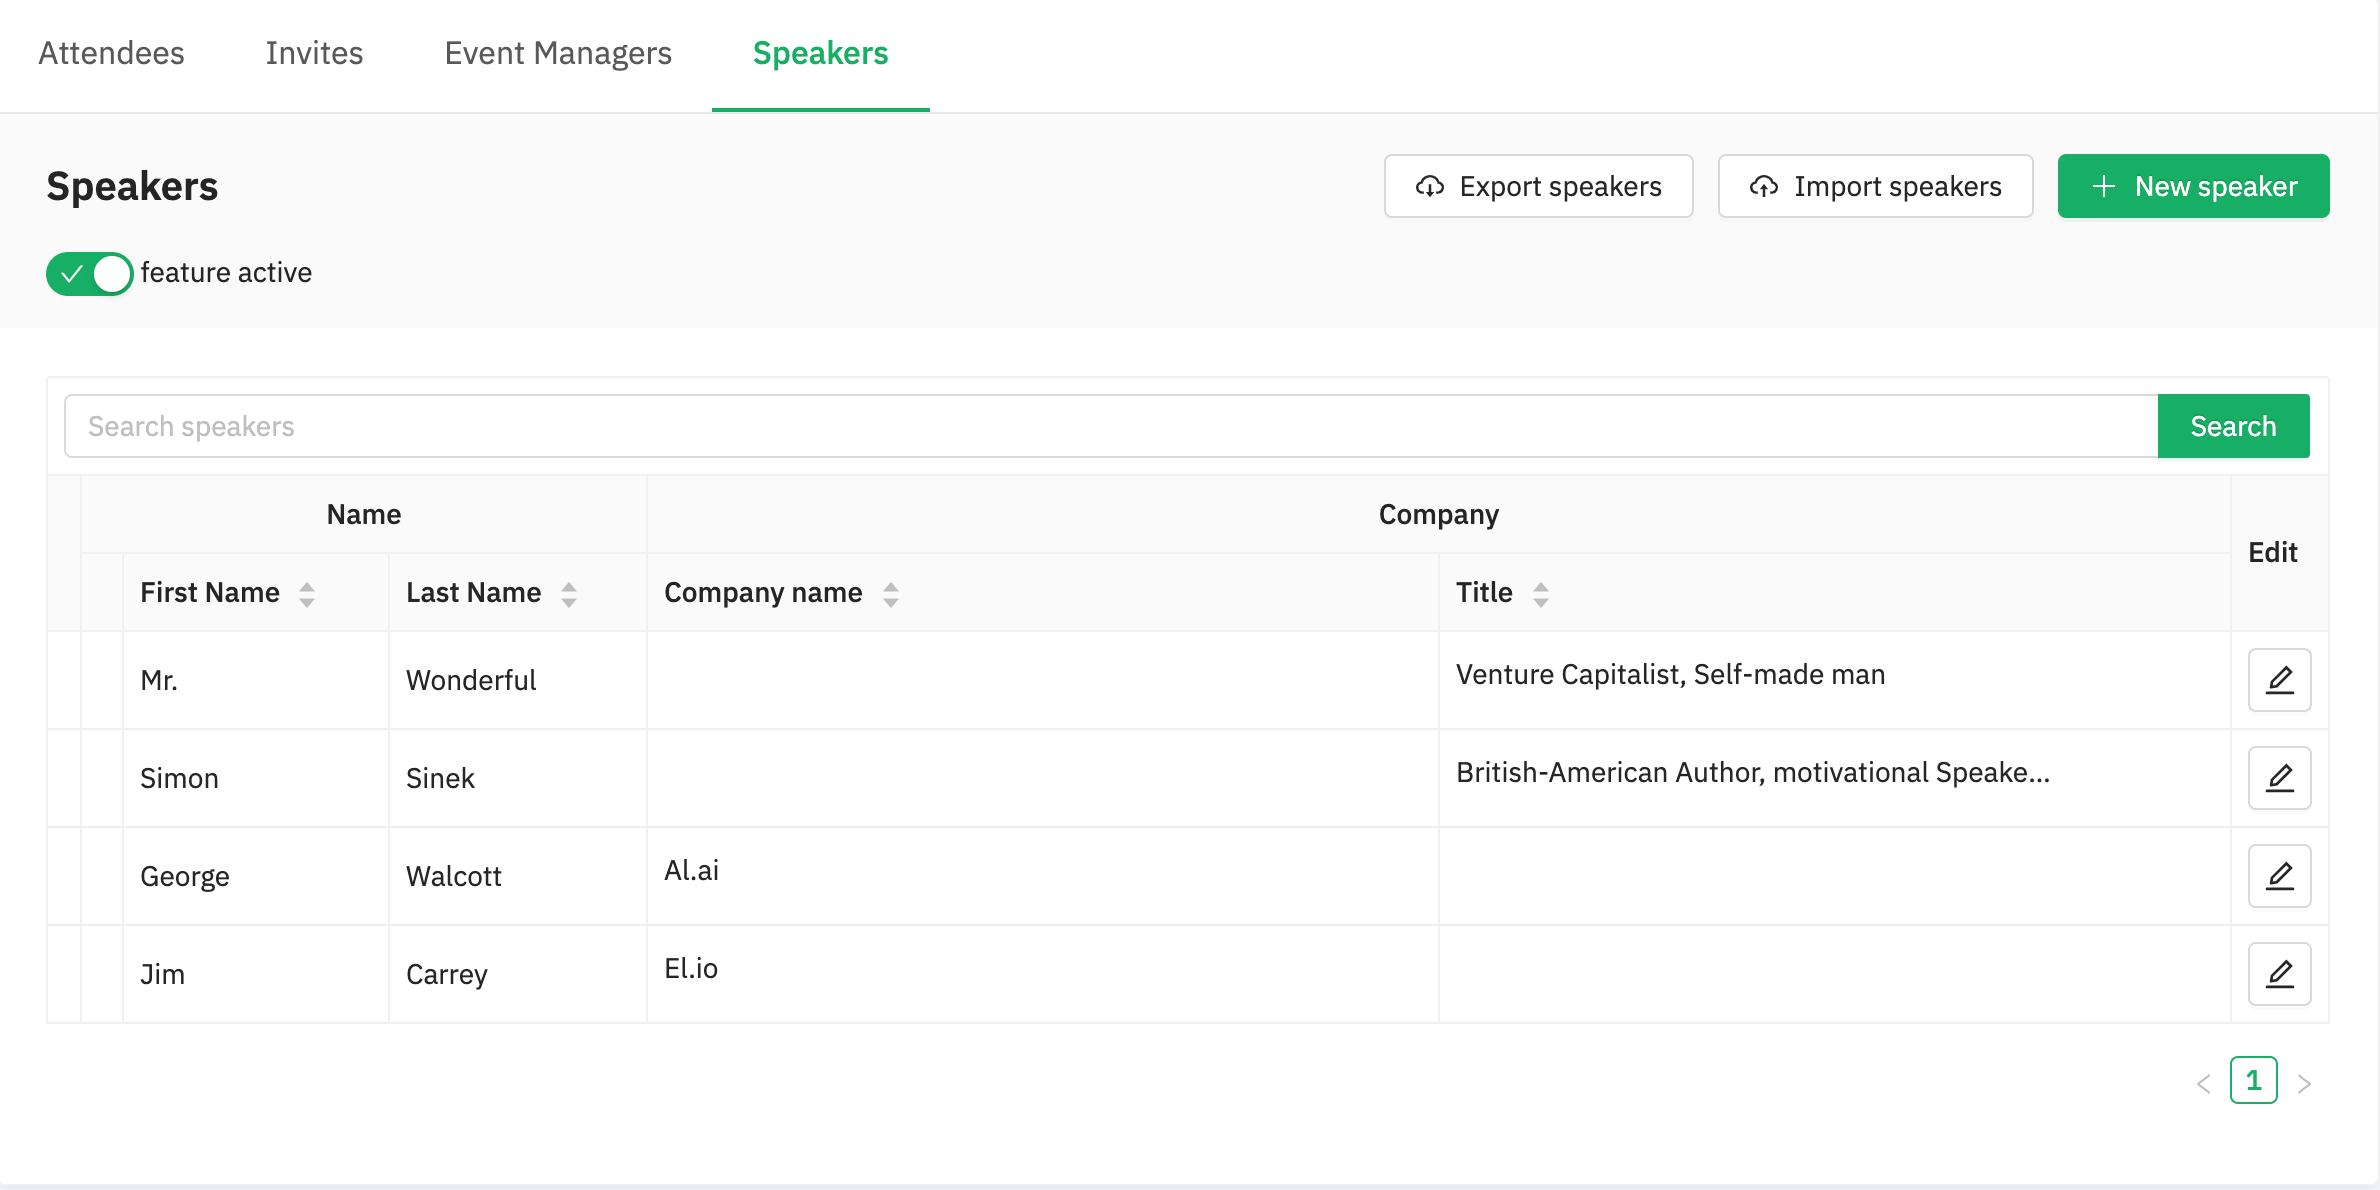
Speakers
On this tab, you can create the speakers' profiles. It will also allow you to add, edit, and remove your event speakers to your event on Brella.
❗Note that creating a Speaker profile does not mean that you're creating a Brella account for them. They still need to create a Brella account independently and join the event as an attendee to access the platform.
This article shows you how to create speaker profiles; you can do this by CSV file upload or adding speakers one by one.
⭐Tip: Invite your Speakers to create an account, so they can also enjoy the event from the attendee's perspective. Attendees would also like to connect to them as this is one of the main reasons attendees attend your event.
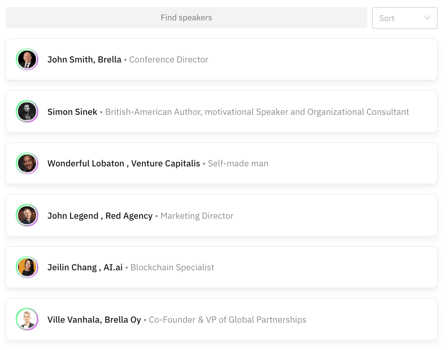
Speakers list displayed at your event - If you click on a speaker's profile, you can see all the sessions he's part of.
Groups
On this tab, you can create groups to better distribute event invitations and tailor attendee experiences according to your event program. For example, you can give exclusive access to some other features such as streams.
With Groups, your event type will have different default groups and you will have the option to create new custom groups. What's more, you can merge groups if you need to!
Additionally, groups will be affected if you decided to change your event type last minute.
For detailed information on this feature, please direct to the articles below.
- What are Groups?
- Creating Custom Groups?
- Groups: Adding and Removing Members
- Groups: Deleting groups
- Groups: Merging Groups
- Groups: Groups behavior after switching Event Type
- Limitations
Last updated on October 2021.
Written by Stephanie Campano Valenzuela.

If you didn’t find an answer to your questions, please contact the Support Team here.
👇