Learn how to generate tickets through stripe.
To be covered:
- Intro
- Creating an account on Stripe
- How to explore the Stripe dashboard
- Pricing & fees
- Enable ticketing and create products
Intro
To use the ticketing and registration feature from the Brella platform it's required to integrate a payment processing system. In this case, Stripe is the current integrated platform into Brella to enable the process of ticket sales for your event and data collection and the registration forms.
To get things started, below, you can find information on how to create a Stripe account, use it and the transaction cost.
Creating an account on Stripe
If you don't have a Stripe account, you can create one either from their website before proceeding to integrate with Brella or at the same time while connecting the dashboard through the Integrations tab in the admin panel.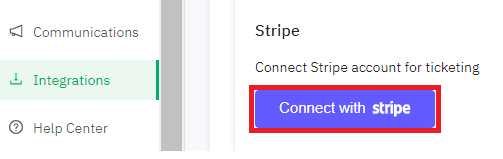
Follow the steps below to create your Stripe account:
- Go to Stripe and create an account filling in the first basic steps (email, full name, location, password)
- Click "Create account"
- You'll be redirected to the main dashboard of your Stripe account
- Click "Activate account" - A verification email will be sent to the associated email. Check your inbox, click "Verify-email-address" and wait until the page refresh by itself. You'll see a little text at the bottom of the page that says "✅ email@emaildomain.com is confirmed"
- It'll take you back to the dashboard home page - Click the blue-button "Next" to fill in the business information
Activate the two-factor authentication to assure your account's security and save the backup code from Stripe
- Note: have the tax and banking information at hand. It's required to complete your stripe account and activates it. Otherwise, it won't work when creating valid tickets for your events.
- After completing the information requirements, click 'Confirm'
- Automatically, you'll be redirected to the home page. A confirmation email will be sent by Stripe after submitting your account information.
👉 Important: For further information about Taxes and how such apply to your ticket sales, please check Stripe's knowledge base.
How to explore the Stripe dashboard
The Dashboard offers a simplified workflow to manage your business. Access the most relevant tabs to handle your payments, reports, and customer information within a click.
In this section, we'll go through the three most relevant tabs of your Stripe dashboard for the correct use with Brella's ticketing and supervise your account's payment flow.
- Home tab provides useful at-a-glance information about the activity on your account. A wide range of real-time charts provides insight into the performance of your business.
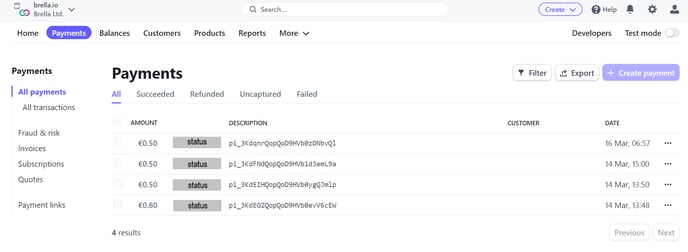
- The payments tab offers information on the transactions on your Stripe account. In the case of ticket sales, you'll be able to see the Succeeded, Refunded, Uncaptured, and Failed payments (status). By clicking on each of them, you can see individual detailed information.
- Inside the products tab, you'll find the most relevant functionalities to make the ticketing and registration work altogether with Brella.
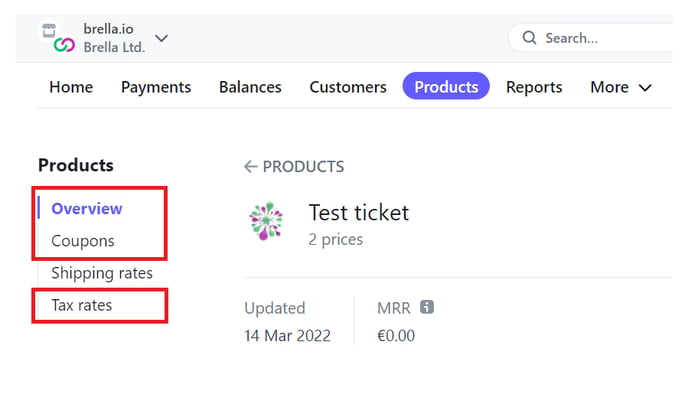
💡 Note: Check the step-by-step article in our Help Center and learn how to create discount coupons or codes for your event ticketing and promotions 🙌
Pricing & fees
Fees are explained in the article here: click here.
Enable ticketing and create products
Follow this article to learn how to enable ticketing next: click here.
Follow this article to learn how to create tickets: click here.
Last updated - November 2023
Written by Nikita Salnikov

If it didn't answer your questions, please contact the Support Team here