Learn how to "opt-in" to networking.
To be covered
You can opt-in during registration or a few days before the event starts. Opting in during the registration process will allow you to network with early birds and connect with relevant people.
What if you don't opt-in when registering. Don't worry! You can still do it a few days before the event starts.
Setting up Your Profile During the Event Registration
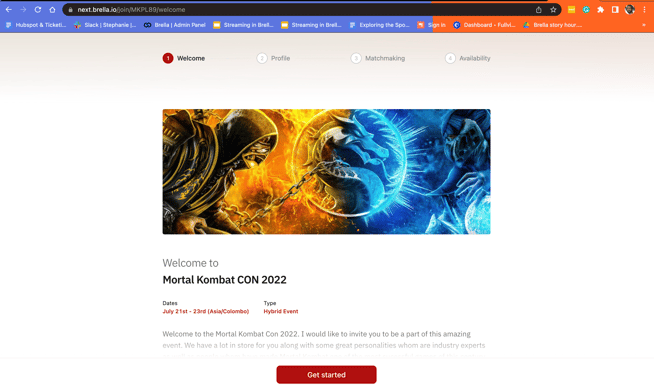
- Open next.brella.io, create a Brella account, or log in with your credentials if you already have an account. Register by inputting the join code provided by the organizers.
- Once you are in, you'll see the registration timeline that consists of 4 steps:

- On the first step, the Welcome page, you can click Set up my profile.
This page will introduce you to the event and present you with the two networking options you have. First, you can Set up your profile.
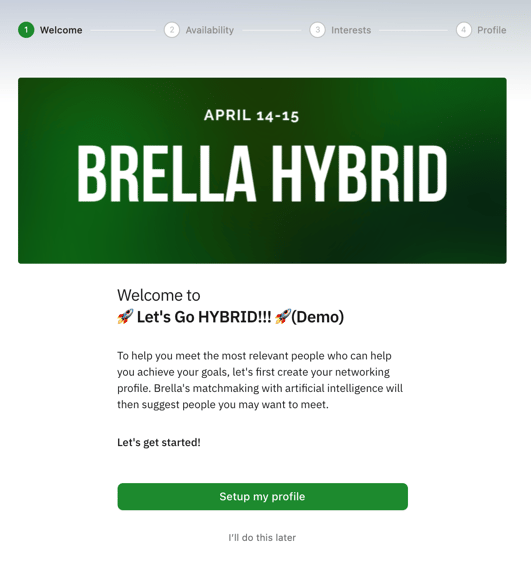
- If you set up your profile, you will be prompted to choose the days you'll attend the event and are open to networking. You can then select the interests and event-specific topics to help Brella connect you with relevant people at the event. Finally, you can finalize your profile by writing a brief introduction of yourself and the countries you operate in.
Setting up Your Profile Post-registration
This is how you can change your networking status to opt-in networking at a Brella event after you skipped networking during the registration.
- Open next.brella.io, log in with your credentials, and open the event you're attending.
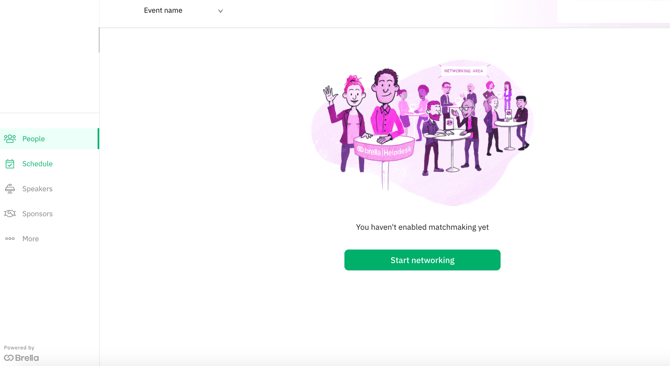
- Open the People page and click on Start networking.
- After clicking Start networking, you'll be starting the join process again. You'll be prompted to choose the days you'll attend the event and are open to networking. You can then select the interests and event-specific topics that will help Brella connect you with relevant people at the event. Finally, you can finalize your profile by writing a brief introduction of yourself and the countries you operate in.
- After that, you're in!
Great job! Now you have successfully created your Brella profile and can start networking.
💡 Click here to know how you can set up Your Profile for Networking on the mobile app.
Last updated in March 2023.

Written by Yusra Mohideen
If you didn't find an answer to your questions, please contact the Support Team here.
👇