In this tab, you can embed your live streams, webinars, or 'virtual stages' by navigating to the Streams tab in the Admin Panel.
 To create a stream tab, you need to set up your streaming session on your chosen third-party software and then retrieve the embed URL, copy it, and paste it on Brella.
Content
1. Streams tab in a nutshell 🎯
Before creating your first stream, learn what you can do at the Streams tab:
- You can display your event content by using the streaming setup of your choice by embedding one embed URL/link.
- You can control which participants can view determined content/session using the streaming gating feature to select the groups
- You can enable Open Chat.
- You can add any embeddable third-party tool of your choice that helps you communicate best and engage with your audience - in your own style! For example, add sidebar integrations to the Stream tab.
- You can add as many streams as you want.
- You will get stream activity per visitor—more information on Stream Analytics.
- If you need troubleshooting steps when testing or setting your device up, you can find them here.
- This feature can be enabled/disable at any stage of your event.
2. Enable Streams 👇
- Go to the Admin Panel.
- Navigate to the Streams tab.
- Click on Enable Streams.
- Now you can start adding your live streams to Brella.
- Click on Create a stream, and add the embed link of your stream setup.
3. Create your first Stream tab on Brella
- Go to the Stream tab on the Admin panel and enable the stream feature if you yet haven't.
- Start with 'Create new.'
- Add your stream title that will be showing to your attendees.
- Add the embed link to your stream in 'Stream URL,' and choose to enable the chat for this stream tab.
We show you how to get the embed link of your stream in this article. The URL usually is taken from the streaming dashboard settings. If necessary, go to their Help Center to learn how to get the link.
☝️Using free or open streaming providers as Twitch may show your broadcasted content to the public. However, if your event requires a more secure streaming setting, please choose another paid platform. - Select the availability of "Who can view this stream" according to the Group type.
👉 If "Anyone" is clicked, meaning that the stream is not assigned to a group will fall into default and it'll be displayed to all participants👉 If "Specific groups" is clicked, you can select which group gets access to each stream. Multiple groups can be selected from the dropdown, which displays all existing groups in the current event.
- Finish with 'Save and create a new event stream.'
-
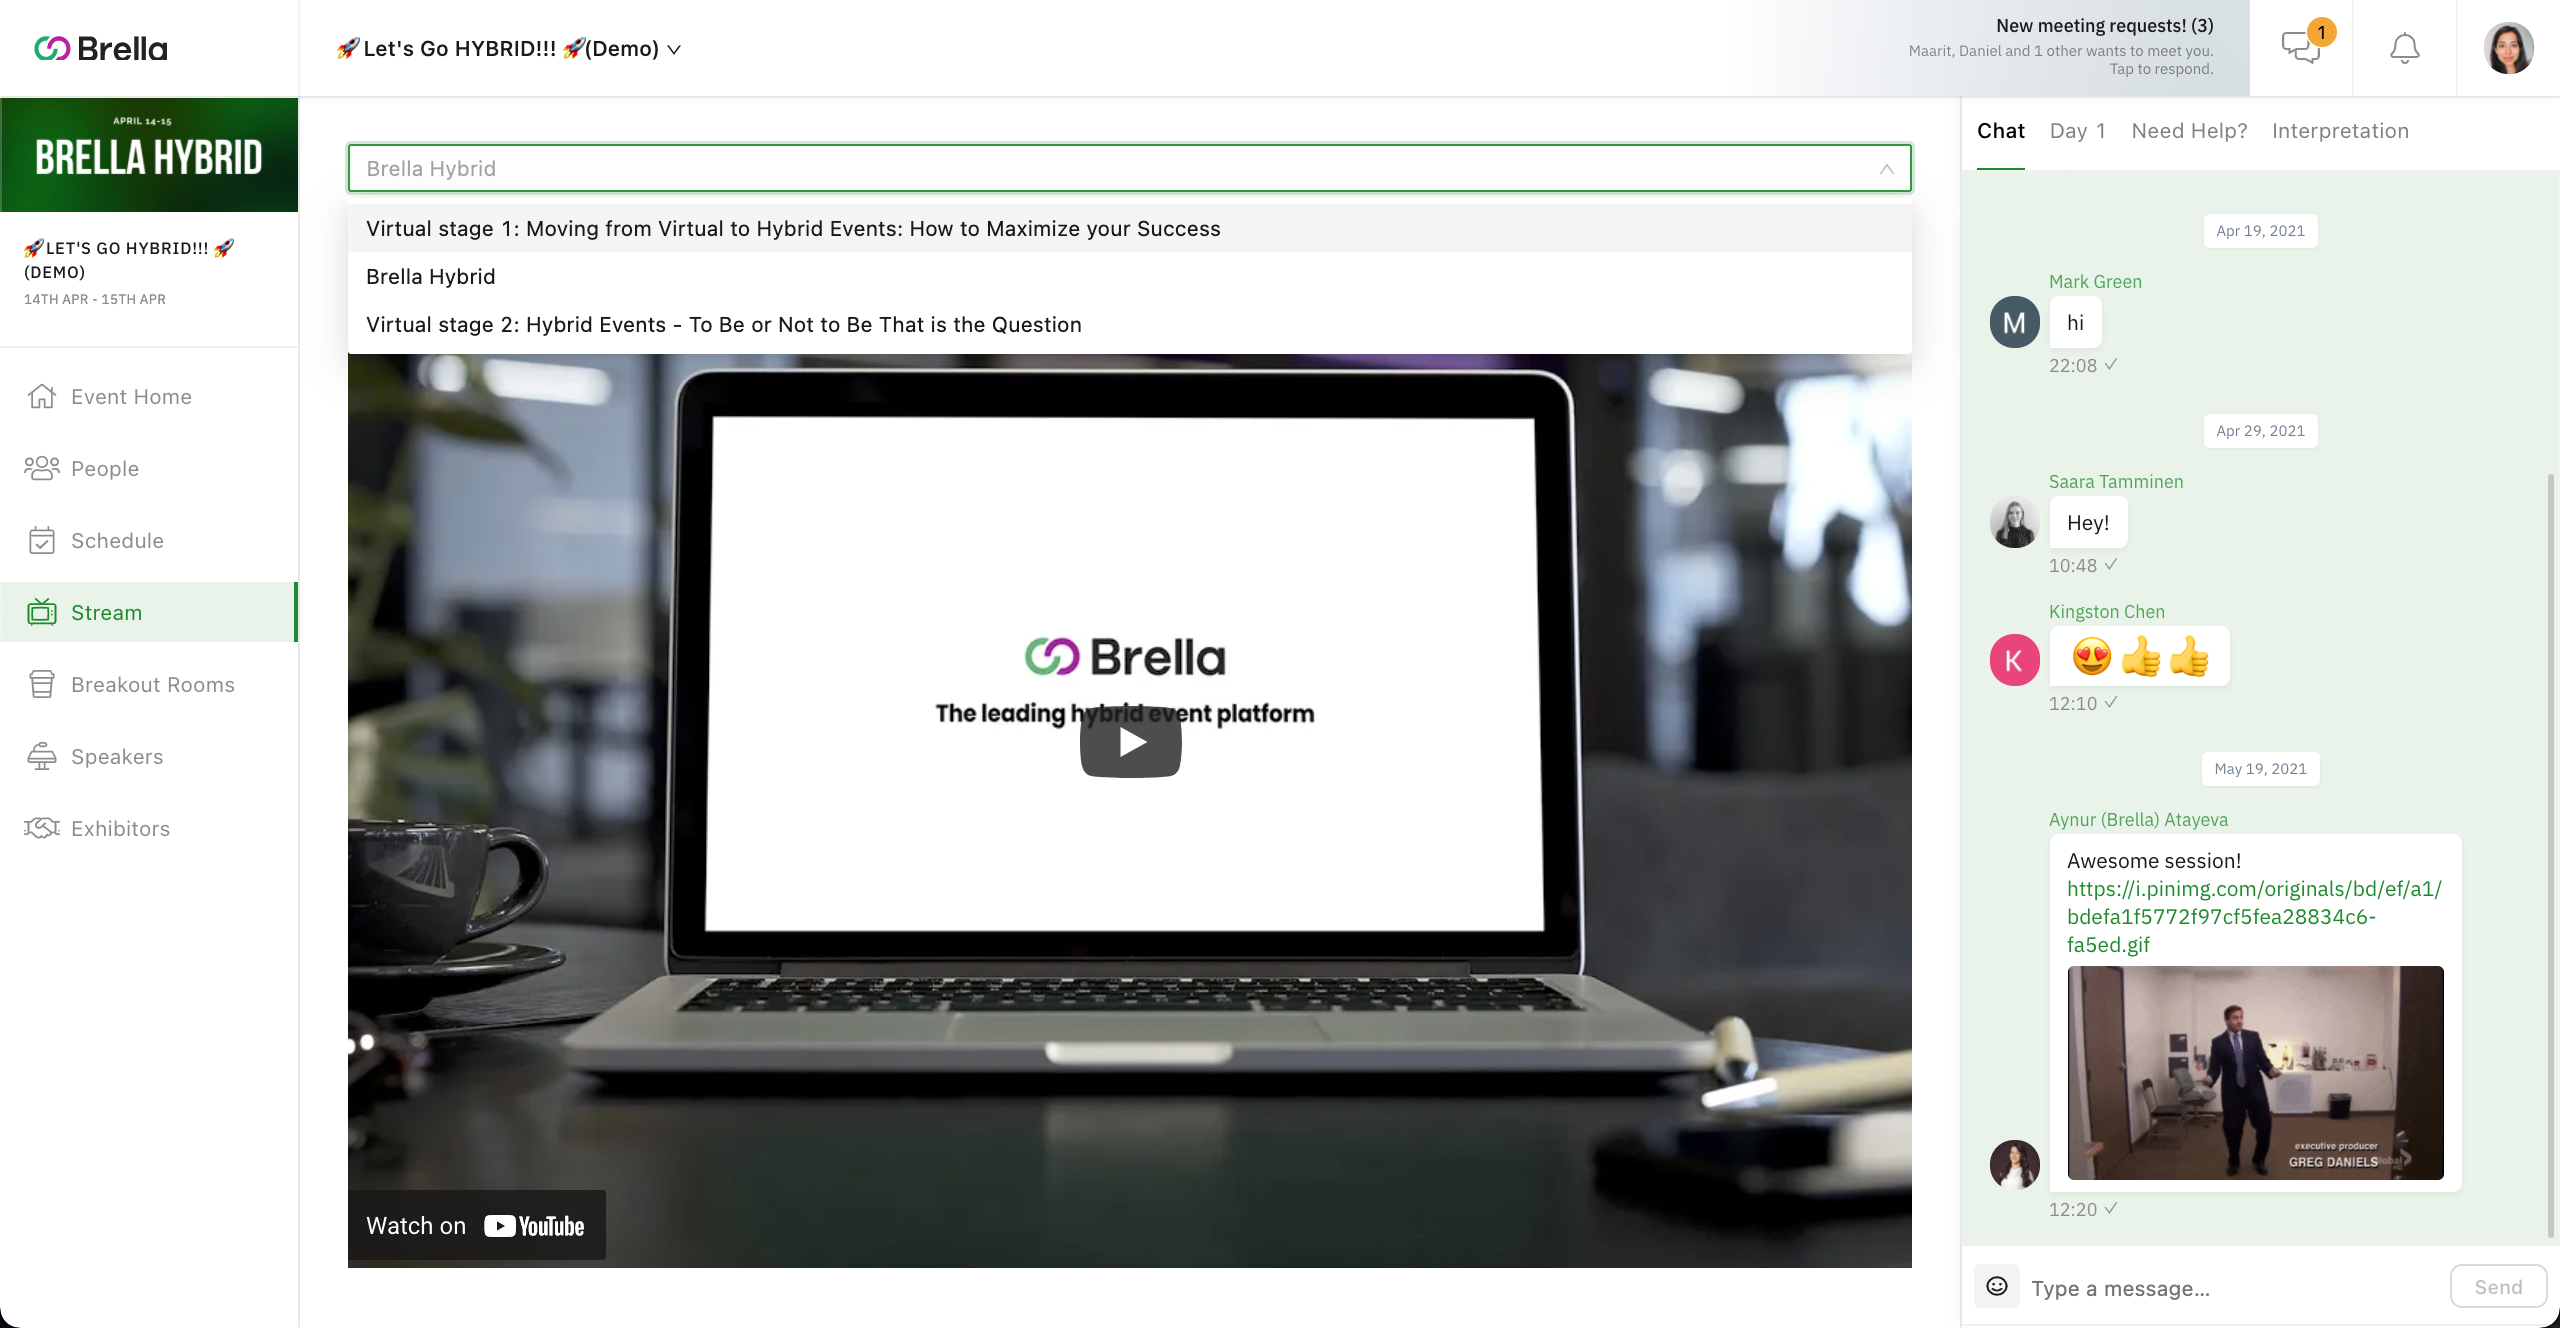
The first stream will look like this to your audience.
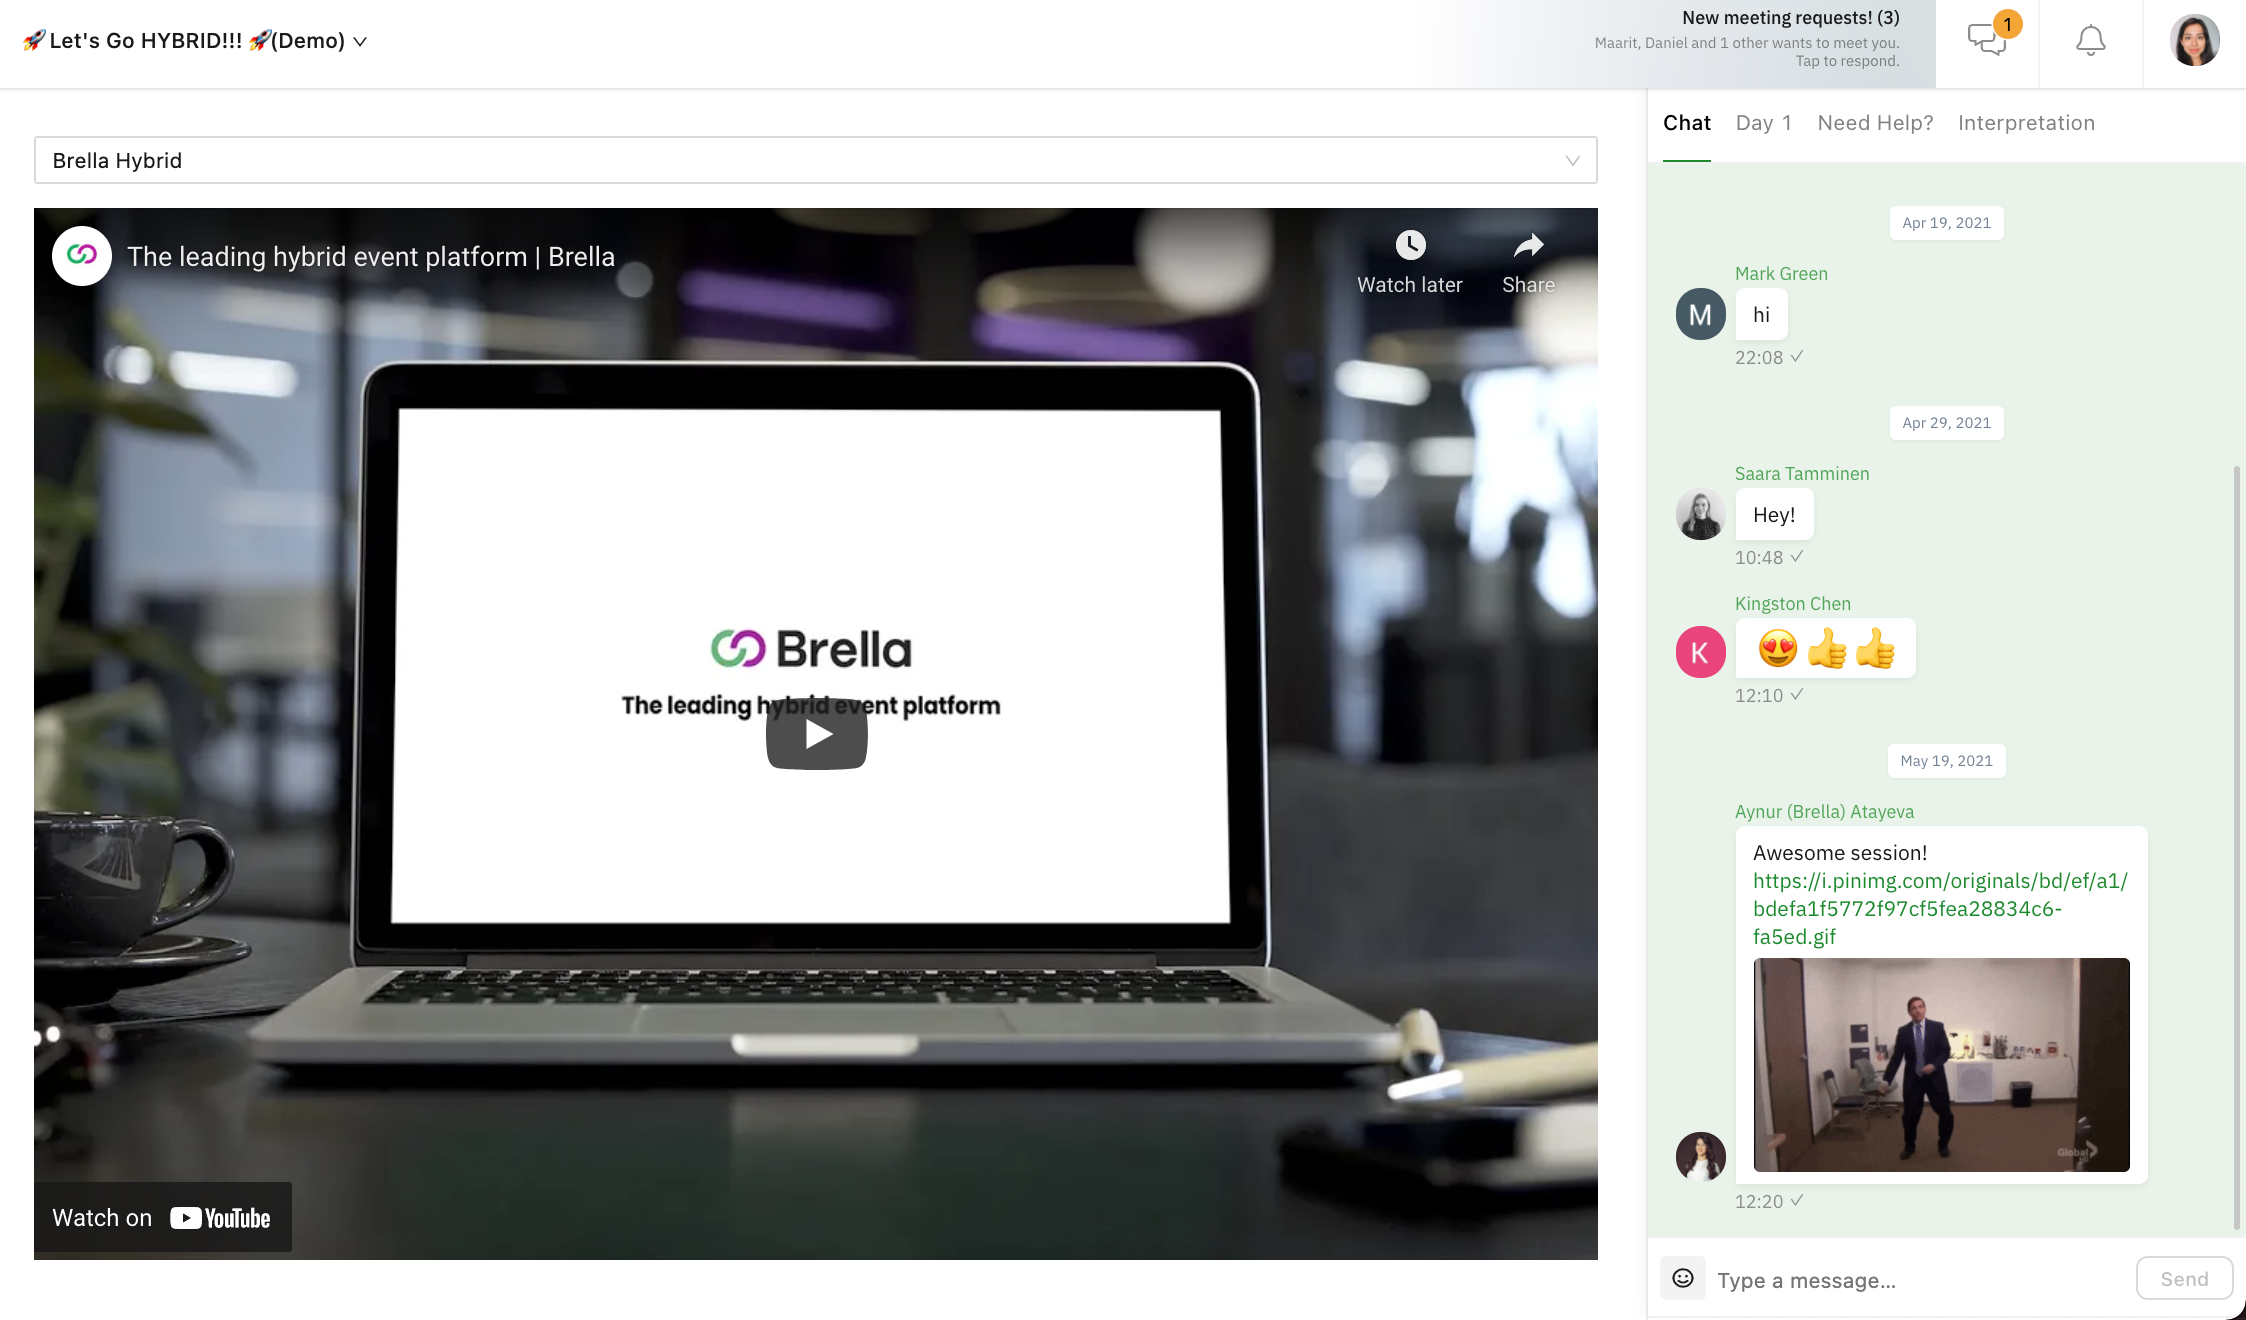
⚡Note: Remember that the stream view might be different for attendees if you're using the access control feature at your event, to section the content by ticket type.
Deleting Streams
❗You cannot delete streams on Brella once you have added them, but you can disable them, so they are not available to your attendees. Toggle the button next to the stream title to enable/disable the stream.
Add Side Panel Integrations to the Stream tab
Learn how to add integrations to the Side Panel on this page. For tips on what kind of tools have been used in Brella before, you can go to the Using Brella with other tools.
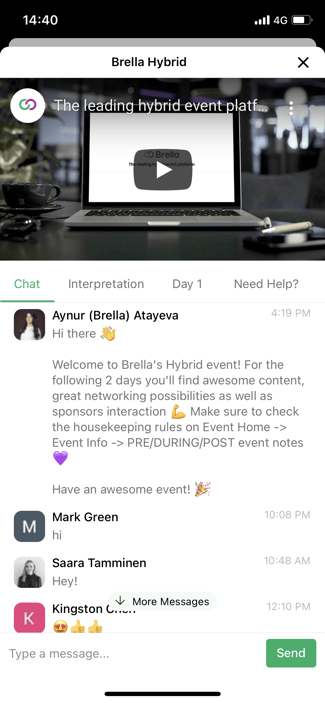
When you add multiple streams, attendees will have to click on the stream title to view other streams. See the examples below:
💻 Web app
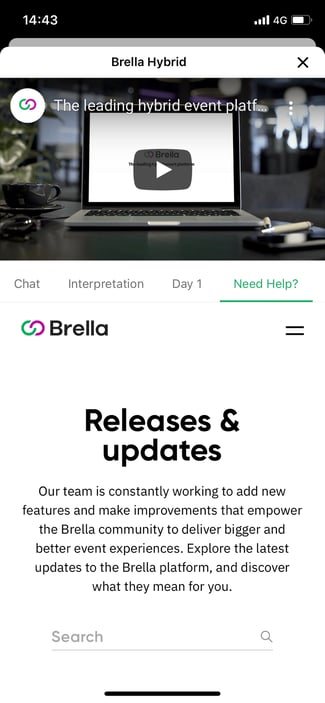
📱Mobile app
Last updated on September 2021.
Written by Stephanie Campano Valenzuela.

If you didn’t find an answer to your questions, please contact the Support Team here.
👇