Learn how to create tracks, locations and tags for attendees to navigate the event schedule conveniently.
To be covered
Intro
Each content slot you create in the event schedule should be assigned to a separate track, location, and tag. The networking slots you create on the schedule will be assigned to the 1:1 meetings by default. This article will explain how you can use tracks, locations, and tags to organize your event schedule and make it easy to navigate for the event attendees.
Schedule tracks
Schedule tracks should be created before you create content slots because they will help you categorize your sessions (content slots). You can create tracks by the topics of your event or locations. Each content slot you create can be assigned to a separate track or the same track at the point of creating the slot. If you leave the track empty, the content slot will be added to the default track named 'event sessions'.
How to add tracks:
- Navigate to the Admin Panel -> Content -> Schedule
- Click on 'Tracks' from the top menu
- Click 'Add new'
- Enter the track name, select a color from the drop-down, and add a description for the track.
- Enable the 'Track is sponsored' toggle and select a sponsor if you plan to assign a sponsor for a track. This is a great way to monetize sponsors of your event.
- Enable the 'show highlighted speakers' toggle if you wish to highlight any speakers for a track. Visit this article for more information on how to add featured speakers to a track.
✍️POINTS TO NOTE
- Sponsors should be added before you create tracks if you want to assign a sponsor at the time of creating a new track. If not, you can leave the 'Track is sponsored' toggle disabled, edit the track later, and enable it once the sponsors have been added to the event. The sponsor details will be visible inside the 'more info' with a link to visit the sponsor booth on the event front end. You can assign only one sponsor per track.
- You will not be able to add overlapping sessions for a specific time slot on the same track. Only one slot can be created for any given time period in one track, and a warning will be shown if the timings are overlapping. If you have two sessions at the same time, it is advised to add them in two separate tracks to avoid such overlapping.
- If a session is sponsored and has highlighted speakers as well, only the sponsor logo will be visible on the schedule card. If a session is not sponsored and has featured speakers, the speaker images will be shown on the schedule card.
❗You can delete a track before or after assigning content slots for it. If you are deleting a track after assigning content slots to it, all the timeslots assigned to the track will get moved to the default track 'Event sessions'. You cannot retrieve a track once deleted.
Add session tags and locations
Tags are handy when you have multiple sessions at the same time. In these multi-track events, you can create tags and assign them to a content slot. It is also possible to add multiple tags to a slot. For example, you can add tags such as main topics, keywords, content session types, and sponsor names.
When creating your tags, try to think about it from the attendee's point of view. The event attendees can use the filter option on the event agenda to view the sessions related to a particular tag.
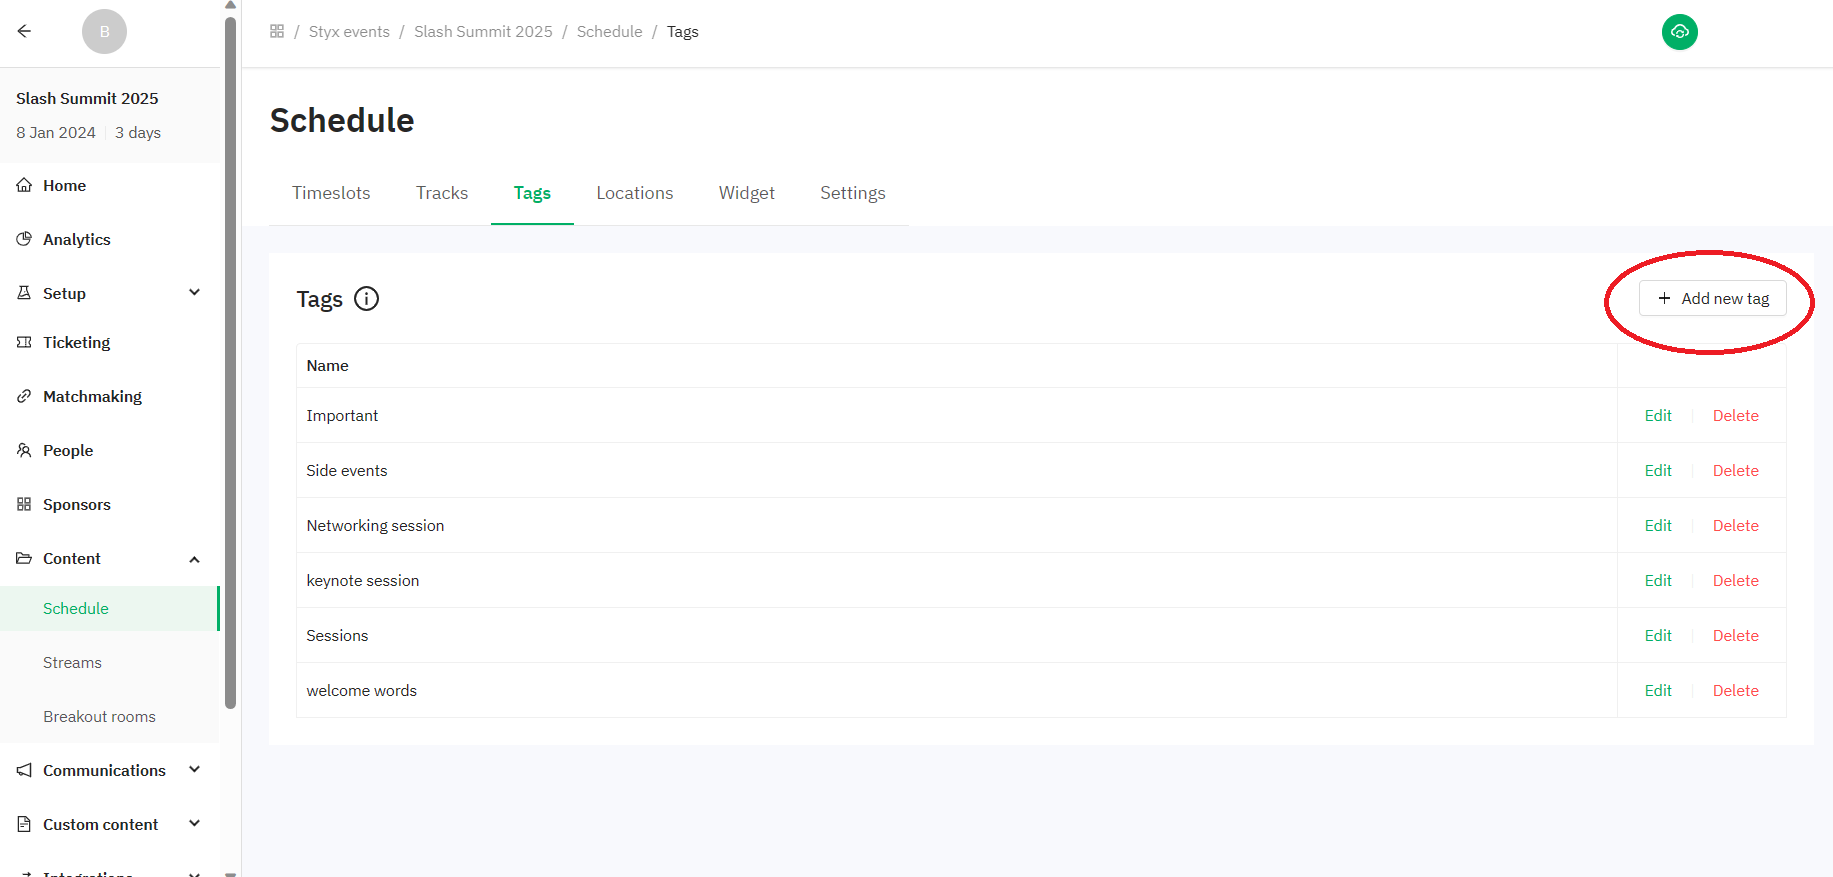
How to add tags:
- Navigate to the Admin Panel -> Content -> Schedule
- Click on 'Tags' from the top menu
- Click '+Add new tag'
- Type in the tag you want to create and click 'Ok'
- You can edit or delete a tag created by selecting the action from the right-hand side buttons
Locations are similar to tags, but used to refer attendees to different virtual or physical locations at your event. Unlike with tags, only one location can be assigned to a slot.
These locations help attendees track where they need to navigate to access the information they are looking for or attend the sessions they want. We recommend using the same terminology within Brella, such as the "Stream tab" or "Schedule tab" when adding locations to virtual events.
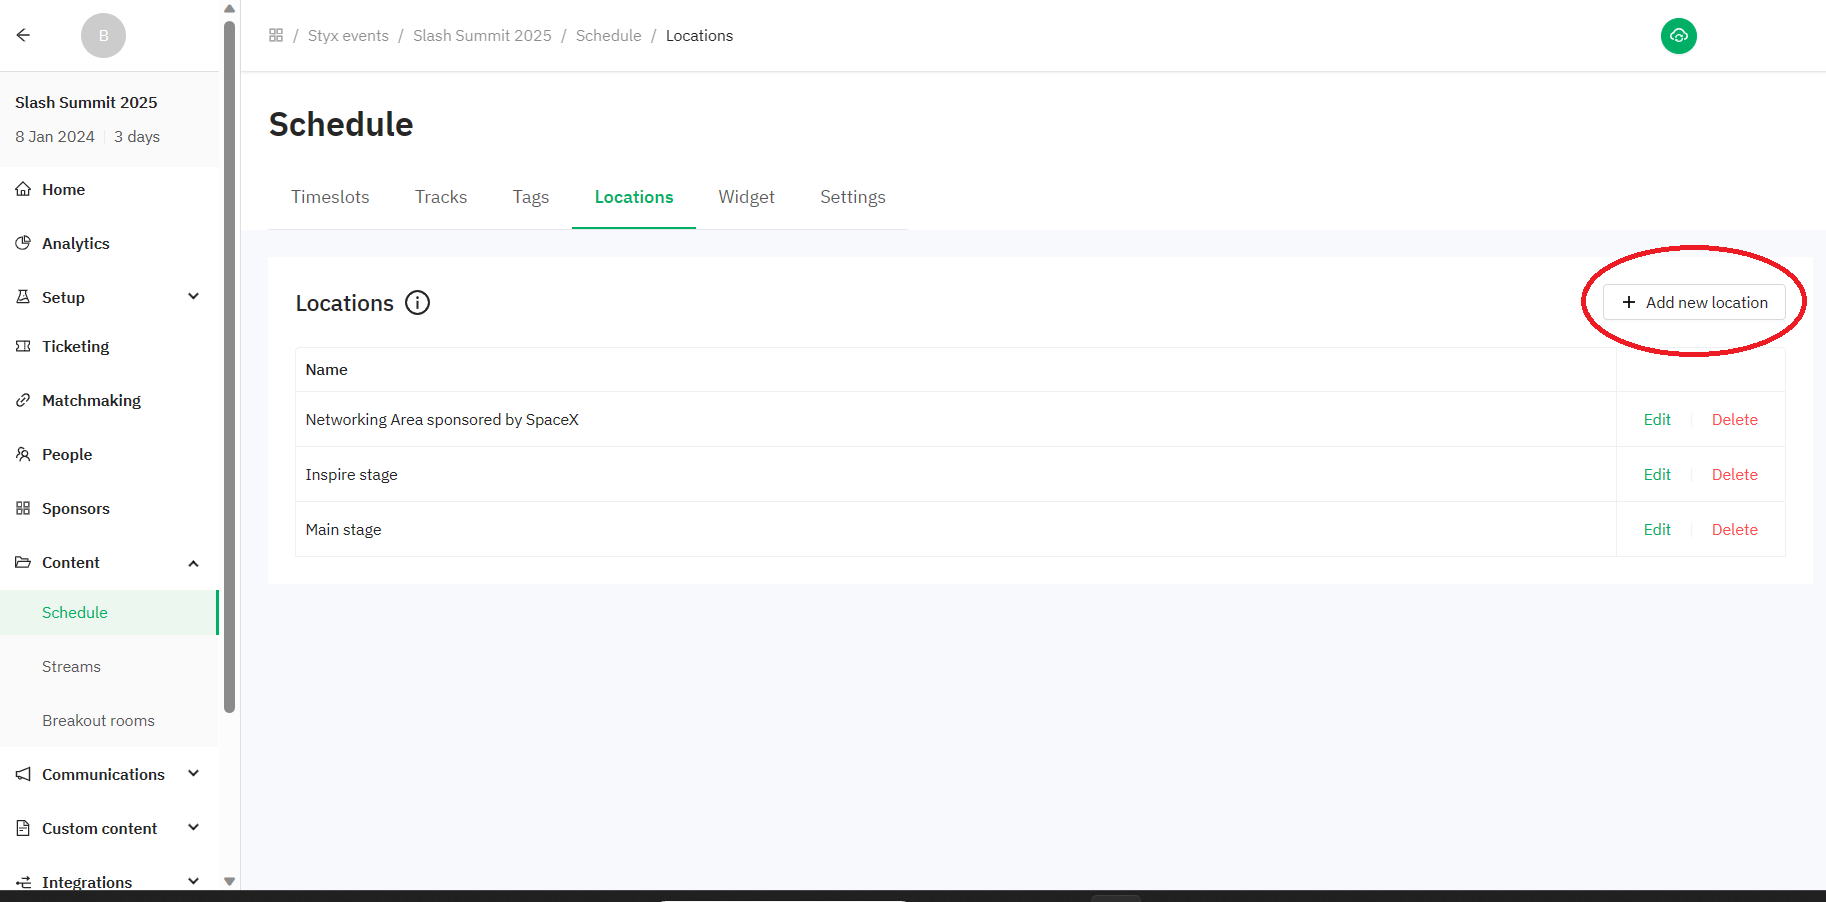
How to add locations:
- Navigate to the Admin Panel -> Content -> Schedule
- Click on 'Locations' from the top menu
- Click '+Add new location'
- Type in the tag you want to create and click 'Ok'
- You can edit or delete a tag created by selecting the action from the right-hand side buttons
💡You can either create tags and locations following the above steps at once or keep adding them at the point of creating content or networking slots as well.
You can delete a tag or a location by clicking on the 'X' mark next to each tag or location in the content or networking slot they have been added.
Once you set up your tags and locations, you can see how it looks in the actual event at next.brella.io. The changes will automatically reflect on the front end of the site to the attendees.
Last updated - June 2023.
Written by Nisansala Wijeratne.

If you didn't find an answer to your questions, please get in touch with the Support Team here.
👇