In this tab, you can create sponsor profiles and sponsorship categories to display in the order wanted on Brella.
 Sponsors and partners are vital participants to make your event a success. At Brella, you can create sponsorship categories, their profiles, and virtual booths. Virtual booths details and how-tos are explained here.
Content
- Activate Sponsors tab
- Creating the First Sponsorship Category
- Creating your First Sponsor Profile
- Customize the Sponsors tab's name
1. Activate Sponsors tab
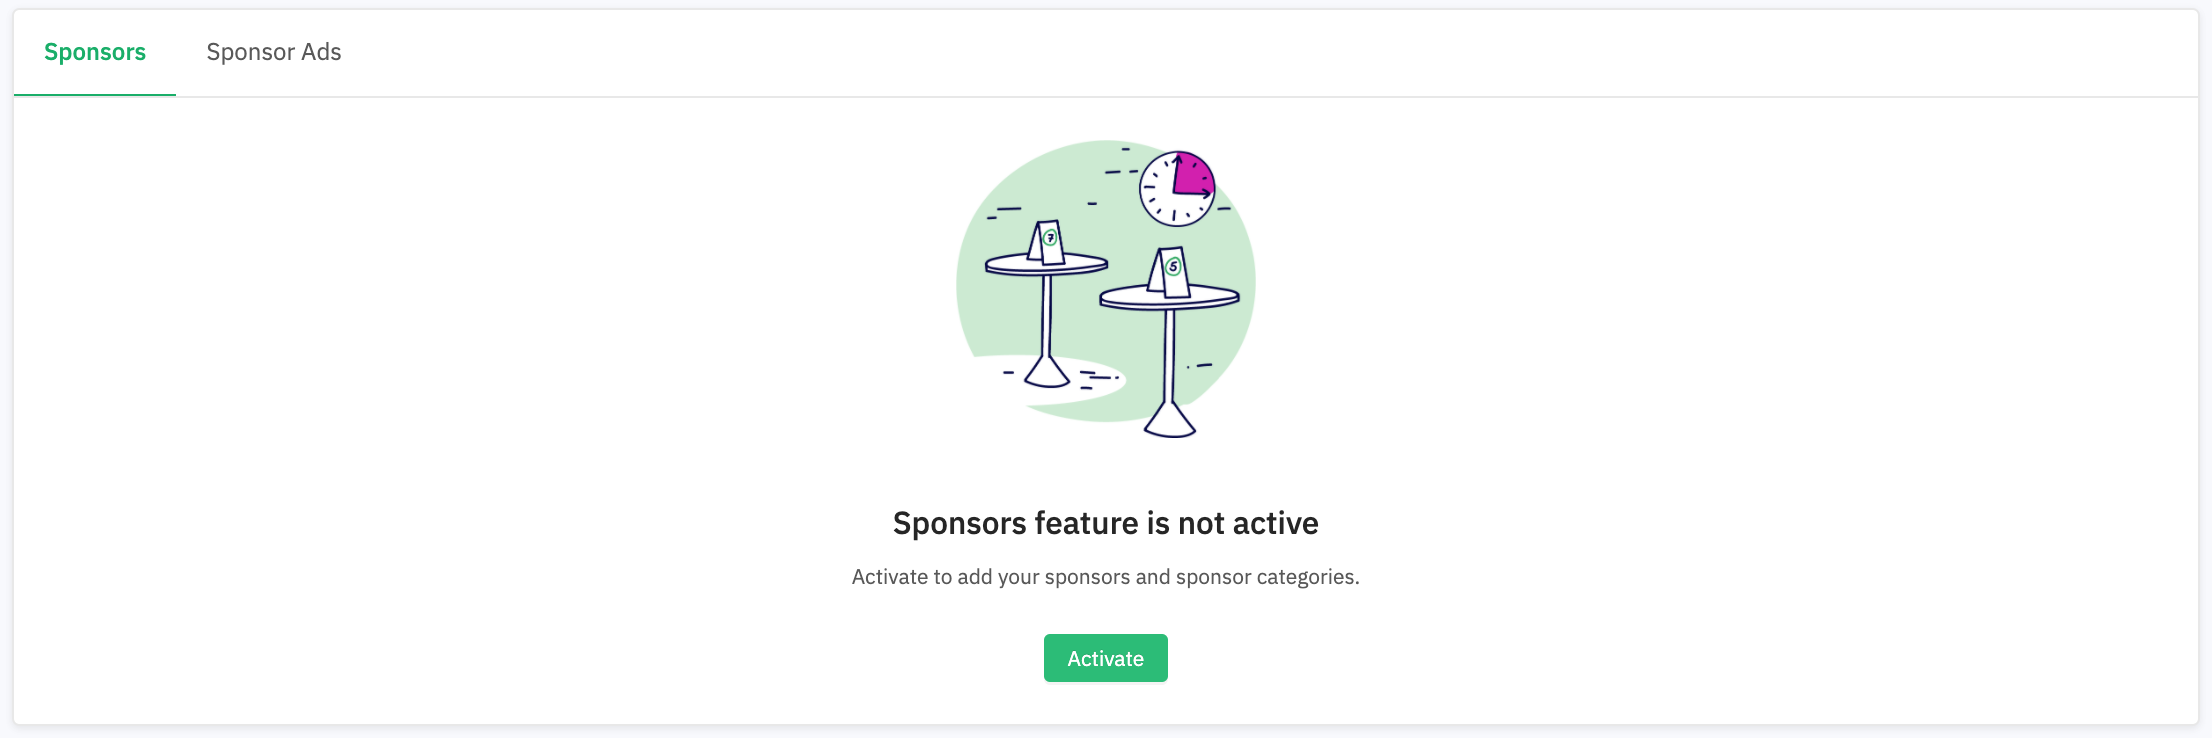
Go to the Sponsors tab in the Admin Panel (manager.brella.io). You'll be prompted to activate the sponsors' functionality.
2. Creating the First Sponsorship Category
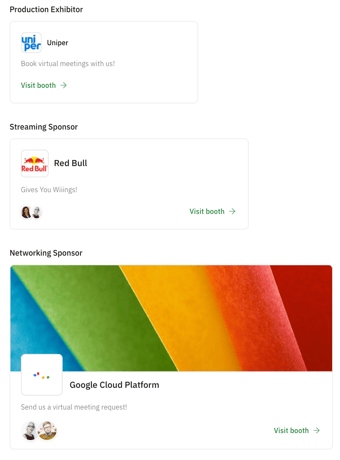
To create a sponsorship category, click on Create first category. Then, please give it a name and choose the size of the booth cards on Brella. There are three card sizes: Small, Medium, and Large.
💡 A cover image is only available for Large sizes.
The sponsorship cards sizes are displayed as in the picture on the right. 👇

3. Creating your First Sponsor Profile
Once the first sponsorship category is created, you can create your first sponsor. There are many possibilities to reflect your sponsor's investment in your Brella event. From helping them set up a visually appealing profile and virtual booth explained here.
You can create a sponsor profile by:
👍 Note! Sponsors can build their booths themselves in the sponsor admin panel. For that, grant them access to the admin panel by following the steps in this article:
How to invite sponsors to build their booth on Brella?
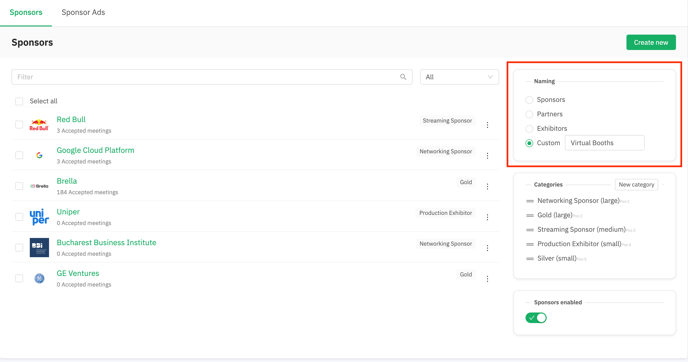
4. Customize the Sponsors tab's name
On the right side of the dashboard, under Naming, you can rename the title of this Sponsor page of your event that will be displayed next.brella.io.
Below you will find categories; these are the sponsorship categories that have been created for this event. At the bottom, Sponsors enabled is a category that allows you to hide/unhide the sponsor page of your event. If you hide it, the content will remain, and no changes will be made.
Last updated on November 2021.
Written by Stephanie Campano Valenzuela.

If you didn't find an answer to your questions, get in touch with the Support Team here.
👇